
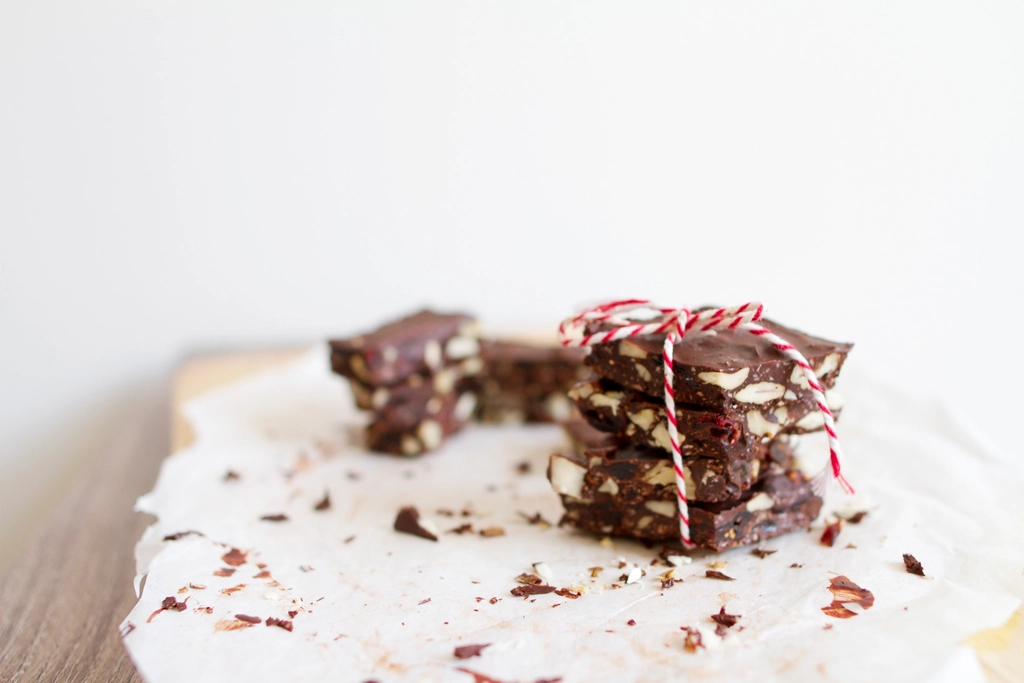
The bowl by the front door is now a bowl on the kitchen counter, and it is going to sit there until March unless something happens to it. Roughly four pounds of it, in eleven varieties, most of them in pieces too small to be worth unwrapping one at a time.
Melted chocolate on a sheet pan turns that pile into one thing instead of eleven, and it does it in about fifteen minutes of actual work. The trick is not the chocolate. It is knowing which candies can be pressed into a warm surface and which have to wait until it has set, because getting that backwards produces a slab with dissolved smears in it rather than defined pieces.
Chopped candy also solves the portion problem. Nobody eats a square of bark the way they work through a bowl of individually wrapped pieces, which is a small mercy in November.
- Base: 12 ounces of chocolate for a quarter sheet pan
- Candy: about 2 cups chopped, roughly equal weight to the chocolate
- Thickness: a scant quarter inch, or it will not snap
- Before the set: anything hard, dense, or crunchy
- After the set: anything that melts, weeps, or dyes
- Set time: 20 minutes at cool room temperature
The bowl by the door, on November first
Sort before you chop. Tip everything onto the counter and make three piles, which takes about five minutes and determines everything that follows.
Pile one is the dense stuff: chocolate bars, peanut butter cups, malted milk balls, toffee, anything with nuts or wafer. These are the backbone and they can take heat.
Pile two is the sugar candy: gummies, sour chews, candy corn, taffy, anything that is essentially colored sugar with gelatin or starch in it. These are the ones that misbehave near warmth.
Pile three is what should be eaten as it is, which is a shorter list than people expect and is covered further down. Two piles go into the bark and one goes back in the bowl.
Sorting the pile by what heat does to it
| Candy | What heat does | Goes in |
|---|---|---|
| Chocolate bars, chopped | Softens and blends at the edges | Before the set |
| Peanut butter cups | Softens slightly, holds shape | Before the set |
| Malted milk balls | Nothing, shell protects them | Before the set |
| Toffee and brittle | Nothing at room temperature | Before the set |
| Candy-coated chocolate | Coating cracks if pressed hard | Before the set, pressed gently |
| Pretzels and wafer bars | Nothing, stays crisp | Before the set |
| Gummies | Soften and go sticky | After the set |
| Sour candies | Sour coating dissolves and weeps | After the set |
| Candy corn | Slumps and bleeds color | After the set |
| Taffy and caramel chews | Goes stringy and pulls | After the set, or not at all |
The dividing line is water content and melting point. Chocolate and nut-based candies are largely fat and sugar with very little free water, and they sit happily in warm chocolate. Gummies and sour candies carry water and gelatin or starch, and warm chocolate draws that water out, which is where the smearing and the weeping come from.
Candy corn is the specific one people get wrong most often, because it looks hard and dry. It is mostly sugar and corn syrup with a low softening point, and pressed into warm chocolate it slumps and bleeds orange within an hour.
Which chocolate to melt, and the one that seizes
Chocolate chips are the convenient choice and the weakest one. Most are formulated with stabilizers specifically so they hold their shape in a cookie, which is the opposite of what a melted base needs, and they set duller and softer.
Chocolate sold in bars or in the flat discs used for baking melts smoother and sets with more snap. Semisweet at around sixty percent is the most useful for this, since the candy going into it is very sweet and a milk chocolate base makes the whole thing cloying.
Candy melts and confectionery coating are a different product. They contain vegetable fat in place of cocoa butter, which means they set hard at room temperature with no technique at all. They are forgiving and they do not taste as good, and for a tray going to a school event where nothing can be refrigerated they are a defensible choice.
White chocolate melts at a lower temperature than dark and scorches easily, going grainy and beige. Melt it at half the power and in half the time increments, and stop while there are still visible lumps.
Melting it without a double boiler
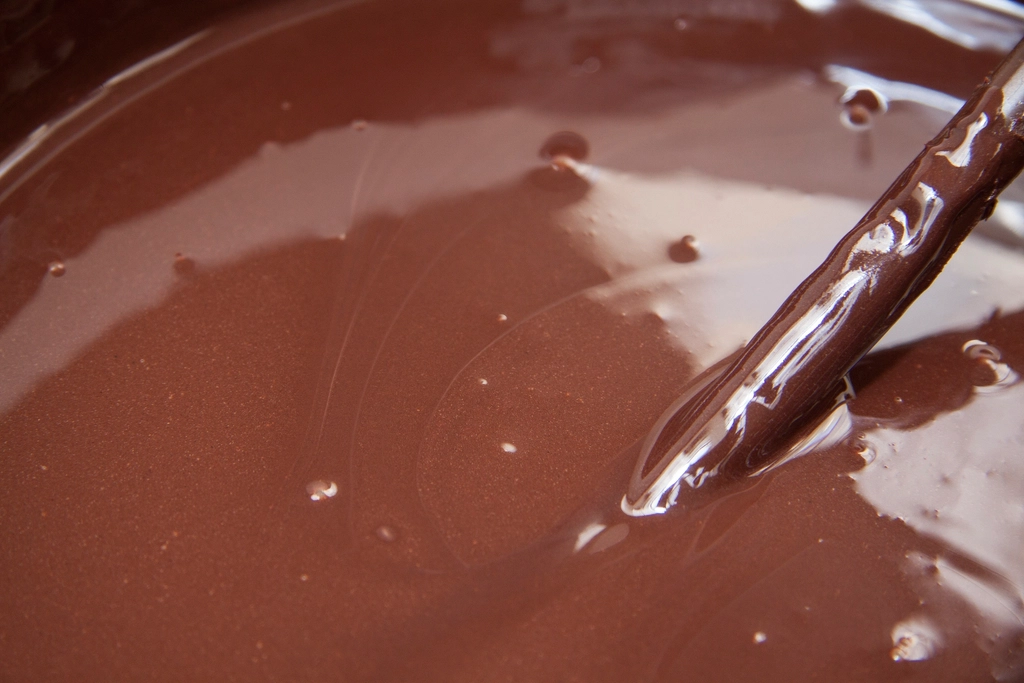
The microwave, at half power, in thirty-second bursts, stirring between each one. Twelve ounces takes two to three minutes of total time and the stirring is not optional, because a microwave heats unevenly and chocolate that looks unmelted may already be scorching underneath.
Stop when about three quarters of it has melted and there are still small lumps. Then stir, off the heat, for a full minute. The residual warmth melts the rest, and that is the difference between smooth chocolate and grainy chocolate.
Water is the enemy. A single drop of water in melted chocolate causes it to seize into a stiff, dull paste, because the sugar particles clump around it. Dry bowl, dry spatula, and no steam anywhere near it. This is also why a double boiler needs care rather than being automatically safer.
A seized batch can sometimes be rescued by adding more liquid rather than less, a tablespoon of cream or oil at a time until it goes smooth, but the result is a ganache rather than a bark base and it will not set hard. If it seizes, the honest move is to turn it into a ganache deliberately and start again with fresh chocolate.
Halloween candy bark, tray to break
- Line a quarter sheet pan with parchment, leaving an overhang on two sides to lift the finished slab out.
- Chop about two cups of candy. Keep the pieces roughly the size of a fingernail, and keep the two piles separate.
- Melt 12 ounces of chopped chocolate in the microwave at half power in 30 second bursts, stirring between each, until three quarters melted. Stir off the heat until smooth.
- Pour it onto the parchment and spread with an offset spatula to a scant quarter inch, leaving an inch of bare parchment at the edges.
- Immediately scatter the heat-tolerant candy over the surface. Press each piece down lightly with a fingertip so half of it is submerged.
- Let it sit at cool room temperature for 20 minutes, or 10 in the refrigerator, until the surface is matte and firm to a light touch.
- Drizzle melted white chocolate over the top in thin lines if you want it, and scatter the soft candies onto the drizzle while it is still wet so they stick.
- Give it another 10 minutes to set completely.
- Lift the slab out by the parchment onto a board and break it into irregular pieces by hand, pressing down from the center outward.
- Store in a sealed container with parchment between layers, at cool room temperature.
Step five has a short window. Chocolate spread thin on a cool pan starts setting within two or three minutes, and candy pressed into a surface that has already begun to firm will fall off later. Have everything chopped before the chocolate is melted.
Thickness, and the quarter inch that decides the snap
A scant quarter inch is the target. Thinner than that and the slab shatters into shards when you break it, and it feels insubstantial. Thicker and it stops snapping and starts bending, and the pieces become too much chocolate for the amount of candy.
Twelve ounces of chocolate covers a quarter sheet pan at about the right depth. On a full sheet the same amount goes too thin, and doubling to a full sheet needs a pound and a half.
Spread from the center outward with an offset spatula and stop while the surface still looks slightly uneven. A perfectly smooth rectangle looks manufactured; the appeal of bark is that it does not.
Leave a border of bare parchment. Chocolate spread right to the edge of the pan sticks to the sides and tears when you lift it.
Which candies go in before the set
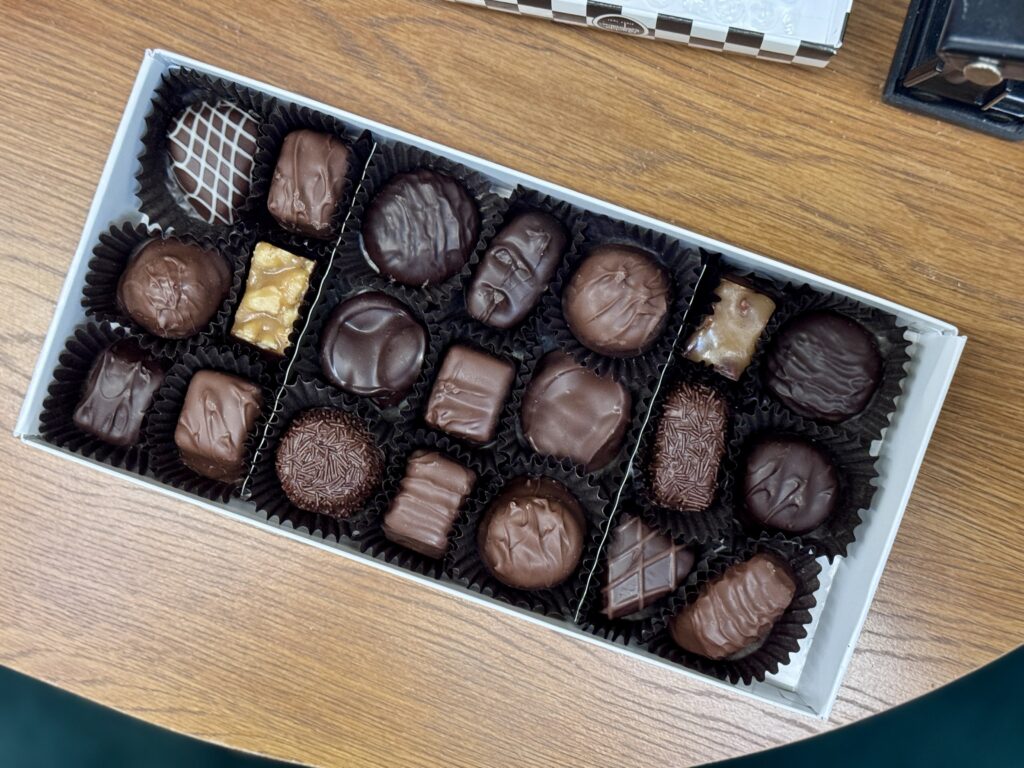
Anything dense, dry, and stable. Chopped chocolate bars are the obvious core, and they bond into the base so well that the finished bark reads as one thing.
Peanut butter cups quartered, malted milk balls halved, toffee crushed coarse, and any wafer bar broken up all work. Candy-coated chocolate pieces go in whole and should be pressed gently, since the shells crack under a firm thumb.
Two additions that are not candy and improve the tray more than any candy does: flaky salt, scattered lightly over the surface, and crushed pretzels. Salt is the single best thing you can add to a slab made from a pile of sweets, and half a teaspoon over a quarter sheet is enough.
Press everything down so roughly half of each piece is submerged. Candy sitting on top of set chocolate falls off in the container, which is annoying rather than serious but easy to avoid.
Which ones get pressed in after
The sugar candies, onto a drizzle rather than onto the base. Once the main slab has set, pipe or spoon thin lines of melted white or milk chocolate over it and place the soft pieces onto those lines while they are still wet.
This keeps gummies, sour pieces, and candy corn out of contact with the warm base entirely. They stay defined, they keep their color, and they do not weep. It also looks better, since the drizzle gives the top some structure.
Cut large gummies down. A whole gummy worm on a piece of bark is unpleasant to bite through; the same worm cut into three pieces is fine. Sour candies keep their coating best if they go on last of all and the bark is eaten within a couple of days.
The two that should just be eaten
Anything with a liquid or caramel center. Filled chocolates, caramel-centered bars, and anything that oozes when cut will bleed into the bark over a day or two, and the slab develops damp patches around each one.
Lollipops and hard candy are the other. They can be crushed and used, and crushed hard candy on top of white chocolate is genuinely attractive, but they draw moisture from the air and go sticky within a day. If you use them, use them on a tray that will be finished the same evening.
Licorice divides opinion strongly enough that it is not worth putting into a shared slab, which is a different objection but a practical one. Same with anything intensely sour, since the flavor travels through the chocolate around it.
Tempering, and whether it matters here
Properly tempered chocolate snaps cleanly, has a glossy surface, and holds at room temperature without softening on your fingers. Achieving it means taking the chocolate through a specific temperature curve, and it is real work.
For a slab covered in candy and eaten within a week, it is not necessary. Untempered chocolate sets softer and duller and it is entirely pleasant to eat. The only visible consequence is that the surface may develop pale streaks after a few days.
The middle path is seeding, and it takes almost no extra effort. Melt three quarters of the chopped chocolate, then stir the remaining quarter in off the heat until it has all dissolved. The unmelted chocolate carries stable crystals that seed the rest, and the result is noticeably glossier and firmer than fully melted chocolate. That is the version worth doing.
Bloom, storage, and the refrigerator question
Those pale grey streaks are bloom, and they are cosmetic rather than a sign of spoilage. Fat bloom happens when cocoa butter migrates to the surface, usually after a temperature swing. Sugar bloom happens when condensation dissolves surface sugar which then recrystallizes, and it is what the refrigerator causes.
Store the finished bark in a sealed container at cool room temperature, between 60 and 70 degrees, with parchment between the layers. Two weeks is realistic for a slab with only dense candy in it; one week if there are gummies or anything sour on top.
The refrigerator is for setting it quickly, not for keeping it. Ten minutes to firm up is fine. Days in the cold produce condensation every time the container comes out, and that moisture both blooms the surface and turns any sugar candy sticky. If the kitchen is genuinely warm, a cool cupboard beats the refrigerator.
Allergens, and the label problem with a mixed pile
A bowl of trick-or-treat candy is a collection of unlabeled fragments from a dozen manufacturers, and once it is chopped and set into chocolate there is no way for anyone to tell what is in it. That matters.
Peanuts and tree nuts are in a large share of what comes home, and cross contact is likely even in the pieces that do not obviously contain them. A tray of this bark should be treated as containing nuts, wheat, milk, and soy unless you built it deliberately from wrappers you read, and it should not go to a classroom or any event where allergies are being managed. Keep the wrappers of what went in if the tray is for a household that needs to check.
Two other practical notes. Hard candy pieces and whole nuts in a slab are a choking hazard for children under about four, so break their pieces small or give them a nut-free tray. And this is a good project for children to help with, since the chocolate never gets above a warm temperature and the jobs of sorting, scattering, and pressing are exactly the right size, which is not true of most fast dessert projects involving a stove.
Frequently Asked Questions
How much candy does one tray use?
About two cups chopped for a quarter sheet, which is roughly a pound of assorted pieces once the wrappers are off. A large trick-or-treat haul makes three or four trays, which is usually more bark than a household wants, so freeze half the candy and make the rest in December.
Can the chopped candy be frozen for later?
The candy itself freezes fine in a sealed bag for months, and it is the better option than freezing finished bark. Chocolate that has been frozen and thawed almost always blooms, so freeze the raw material rather than the slab.
Why did my bark bend instead of snapping?
Either it was spread thicker than a quarter inch, or it was made with chocolate chips, or the room is warm. Chips contain stabilizers that keep them soft. Try a chopped bar and spread it thinner.
Can I use white chocolate as the whole base?
Yes, and it looks striking with dark candy on it. It is much sweeter, so lean harder on salt and on tart or sour additions to balance it, and melt it more gently than dark since it scorches at a lower temperature.
Do I have to chop the chocolate, or can I use chips?
Chips work and the result is softer and duller. If chips are what is in the cupboard, add a teaspoon of neutral oil per twelve ounces to help them flow, and expect a bark that bends slightly rather than snapping.
How thin is too thin?
Below about an eighth of an inch it stops being bark and becomes shards, and it breaks under its own weight when you lift it off the parchment. If the pan looks like it is showing through in patches, spread less far.
Make one tray the first weekend of November while the pile is still large enough to sort properly. What is left in the bowl by the middle of the month is never the good part.