
They come out of the oven at seven in the evening rattling on the pan like gravel. By seven the next morning they bend. Nobody changed the recipe, nobody left the lid off, and the internet is full of people describing the same twelve hours.
The cause is water that was already inside the chickpea when it went into the oven, plus the water the pan gave off afterward, sealed into a container while it was still warm. A chickpea that is crisp on the surface and damp at the center will always redistribute that moisture outward once it is closed in.
Fixing it is two steps and one container decision. Dry them properly before roasting, roast them long enough to drive the interior water out rather than just brown the outside, and store them somewhere that is not airtight.
- The failure: interior moisture migrating to the surface overnight
- Drying: 20 minutes on a towel, minimum, rolled not patted
- Oven: 400 degrees, 35 to 45 minutes, shaken twice
- Oil: 2 teaspoons per can, which is less than most recipes call for
- Seasoning: after the oven, not before, except for the salt
- Storage: loosely covered jar at room temperature, three days
What is actually happening overnight
A roasted chickpea is not uniformly dry. The outer layer dehydrates first and hardens into a shell, and that shell then slows the escape of water from the inside. Pull the pan at thirty minutes and you get a crisp exterior wrapped around a soft, still-moist center, which tastes correct for about an hour.
Seal that into a container and the trapped water has nowhere to go but outward. It moves from the wet center into the dry shell until both are equally damp, and the equilibrium point is soft. The same physics makes a cookie stored next to a slice of bread go soft.
Warmth accelerates all of it. Chickpeas bagged while still warm give off steam that condenses on the inside of the lid and drops back down, so a batch closed up too early is soft in less than two hours rather than overnight.
The fix is not a better container. It is removing more water in the oven, and then not sealing what is left.
The drying step, and the twenty minutes it takes
Drain and rinse a can, then tip the chickpeas onto a clean kitchen towel and roll them gently under a flat hand. Rolling does two useful things at once: it dries the surface far better than blotting, and it loosens the skins.
Leave them spread out on the towel for fifteen to twenty minutes afterward. Air drying finishes what the towel started, and this is the interval people skip because the oven is already hot. It is also the single highest-return step in the entire process.
A salad spinner works if you own one. Two runs, twenty seconds each, then onto the towel. It is faster and it removes more of the water sitting in the folds.
Do not skip the rinse to save time. The liquid from the can is starchy and salty, and chickpeas roasted in it brown unevenly and taste of tin. That liquid is aquafaba and it whips like egg white if you want to keep it, but it does not belong on a sheet pan.
Skins on, skins off, and what it costs
Skins slip off easily after the towel roll, and removing them produces a noticeably crisper, more even chickpea. It also takes ten to fifteen minutes per two cans and produces a small pile of skins.
The honest assessment is that it is worth doing for a batch meant to impress and not worth doing on a Tuesday. Skin-on chickpeas are perhaps eighty percent as crisp and take none of the extra time, and after three days of storage the difference between the two batches has mostly closed anyway.
A middle path: roll them harder on the towel and roast whatever skins come loose along with everything else. Loose skins turn into crisp chips in the oven and are the best part of the pan.
Crispy roasted chickpeas: the method that holds three days
- Heat the oven to 400 degrees with a rack in the middle. Convection, if you have it, at 375.
- Drain and rinse two cans of chickpeas, roughly three cups. Roll them dry on a towel and leave them out for twenty minutes.
- Toss with two teaspoons of neutral oil per can and half a teaspoon of fine salt. Salt goes on now; everything else waits.
- Spread on an unlined rimmed sheet pan in a single layer with visible space between them. Two cans need a full half sheet, and parchment traps moisture underneath, so skip it.
- Roast 35 to 45 minutes, shaking the pan hard at 15 and again at 30. Expect a few to pop audibly; that is steam escaping and it is a good sign.
- Start checking at 35 minutes. A finished chickpea rattles on the pan, sounds hollow when it lands, and shatters rather than squashes when pressed with a spoon.
- Turn the oven off, crack the door, and leave the pan inside for ten minutes. The residual dry heat pulls out the last of the interior water without adding color.
- Toss with the ground spices while still warm, then cool completely on the pan, in one layer, for at least thirty minutes before anything goes into a jar.
Temperature and time, route by route
All five produce a crisp chickpea on the day they are made. They differ in how deep the drying goes, which is what decides day three.
| Route | Temperature | Time | Result | Holds |
|---|---|---|---|---|
| Standard | 400 F | 35 to 45 min | Crisp shell, dry center, light gold | 3 days |
| Fast | 425 F | 25 to 30 min | Darker, some burnt, centers still damp | Same day |
| Low and slow | 325 F | 60 to 75 min | Uniformly dry, pale, hardest texture | 5 days or more |
| Air fryer | 380 F | 15 to 18 min, shaken twice | Very crisp, small batches only | 2 days |
| Skillet | Medium heat | 12 to 15 min | Crisp outside, soft inside | Eat immediately |
The 425-degree route is the one most recipes print, and it is why so many batches disappoint. Higher heat browns the outside before the inside has finished drying, which produces exactly the wet-center chickpea that goes soft by morning. The air fryer avoids that by moving air fast rather than by running hot, which is the general reason it crisps small batches so well and struggles with large ones.
Oil: less than the recipe says
Two teaspoons per can is enough. Most recipes call for a tablespoon or more, and the excess pools on the pan, fries the bottom surface of each chickpea, and leaves a greasy film that reads as soft in the mouth even when the texture underneath is crisp.
The job of the oil is heat transfer and spice adhesion, not frying. A thin coat that just makes the surface look slightly damp is the target. If there is oil visible on the pan after tossing, there is too much.
Oil sprayed on is better than oil poured on, because coverage is more even. Whatever you use, choose something with a high smoke point: neutral vegetable oils, avocado oil or light olive oil. Extra virgin olive oil at 400 degrees for forty minutes turns bitter.
Season after the oven, not before
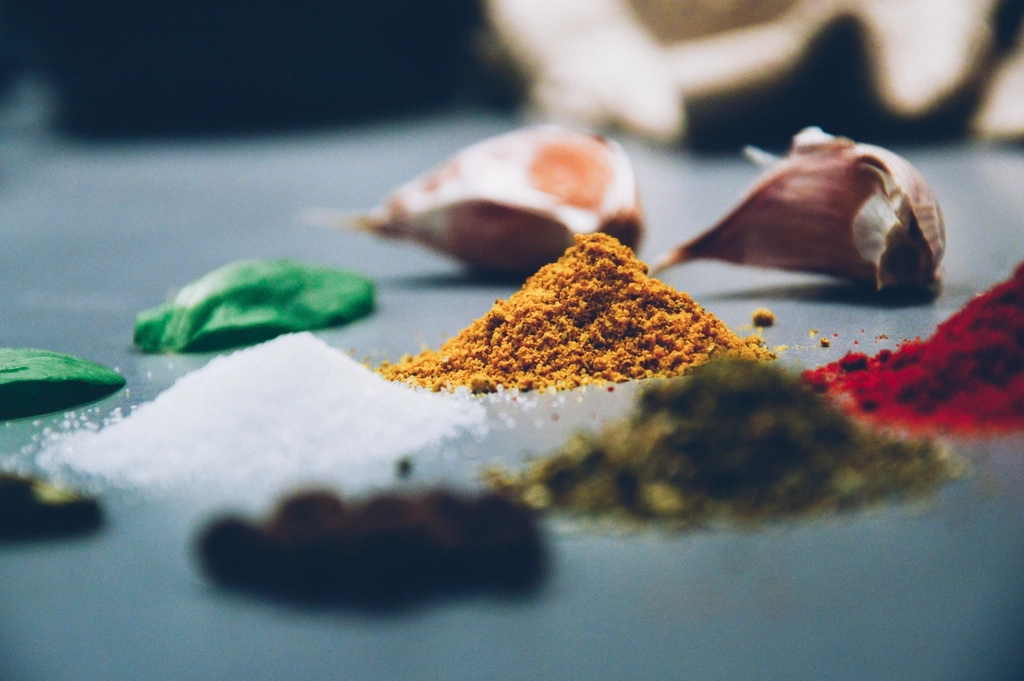
Ground spices burn. Forty minutes at 400 degrees is well past what paprika, garlic powder, onion powder and most chili blends can survive, and burnt garlic powder is a specific, acrid taste that cannot be covered up.
Salt is the exception and goes on before roasting, because it needs the time to penetrate rather than sit on the surface. Everything else goes on within a minute of the pan leaving the oven, while the chickpeas are hot enough for the spices to stick.
Sweet blends have an extra problem. Sugar, honey and maple all bring moisture and all burn faster than spices do. If you want a cinnamon-sugar version, roast plain, then toss with a teaspoon of melted butter and the sugar mixture, then return to a 300-degree oven for five minutes to set it.
Four blends that work, each for three cups: smoked paprika with cumin and cayenne; garlic powder with dried oregano and lemon zest; curry powder with a pinch of sugar; grated parmesan with black pepper, added off the heat.
The container that keeps them crisp
Airtight is wrong here, which is the opposite of nearly every other snack storage rule. A sealed container traps whatever residual moisture remains and hands it back to the surface within hours.
Use a glass jar with the lid resting on top rather than screwed down, or a bowl covered with a paper towel, or a paper bag folded closed. Any of those lets the last of the water leave while keeping dust off. Three days at room temperature is realistic; the third day is noticeably less crisp than the first.
Never refrigerate them. A refrigerator is a humid environment and cold surfaces attract condensation, so a jar moved from the counter to the refrigerator produces soft chickpeas faster than leaving it out would have.
They also cannot be frozen usefully. Freezing and thawing rearranges the water inside and the texture does not come back, which makes this one of the few snacks that does not fit a make-ahead system beyond about seventy-two hours.
Reviving a soft batch
A soft batch is not a lost batch. Spread them back on a sheet pan in one layer and give them eight to ten minutes at 350 degrees, then cool completely on the pan before storing. That recovers most of the original texture and can be done twice before the flavor starts to flatten.
The air fryer does the same job in about four minutes at 350. Watch it closely, because the margin between crisp and burnt is narrow at that size.
What does not work is the microwave. It heats the water inside, which is the opposite of removing it, and the chickpeas come out hot and chewy.
Packing them, and the safety notes worth knowing
These travel well and need no cold pack, which is what makes them useful in a lunch bag. Pack them in something that breathes, or at least do not seal the container until they are completely cool. A snack bag left open at the top beats a sealed hard container for this one item.
On the can itself: discard any that is bulging, leaking, badly rusted, or dented along a seam, and do not taste to check. Those are the specific signs associated with a compromised seal, and the risk with low-acid canned goods is botulism, which is not detectable by smell or appearance.
Two practical notes for children. Whole chickpeas are a choking hazard for children under about four, especially when they are hard and round after roasting, so serve them crushed or wait. And the good jobs for a child helping are rinsing, rolling the towel and tossing the spices afterward; the sheet pan coming out of a 400-degree oven is not one of them, and neither is shaking it.
What half a cup is worth, roughly
Half a cup of chickpeas roasted from a can lands in the neighborhood of 130 to 160 calories, around 6 to 7 grams of protein and 5 to 6 grams of fiber, with the oil accounting for most of the spread. Treat those as estimates and read the panel on the can you bought, since sodium in particular varies enormously between brands and between the salted and no-salt-added versions.
The fiber is the part that makes them satisfying out of proportion to the calorie count, and it is also the part that surprises people who eat two cups in one sitting. A half cup is a snack; the whole pan in an afternoon is a different experience.
Rinsing matters here beyond taste. A thorough rinse removes a meaningful share of the sodium from a standard salted can, which is worth doing before adding your own salt, since then you control the number rather than inheriting it. That single habit does more for a lower-sodium week than most of the substitutions people attempt.
Frequently Asked Questions
Can I use dried chickpeas I cooked myself?
Yes, and they roast better. Home-cooked chickpeas are firmer than canned ones and hold their shape through a long roast. Cook them slightly under, so they are tender but not falling apart, then dry and roast exactly as above. Add five minutes to the oven time.
Why did some of mine explode?
Steam escaping through the shell, which is normal and mostly a good sign. It happens more with wetter chickpeas and higher heat. If a large share of the pan is bursting open, the drying step was too short.
How crisp is crisp enough?
Press one against the pan with the back of a spoon. It should shatter into pieces rather than flatten into paste. If it squashes, the center is still wet and it needs another five to eight minutes, regardless of what the color suggests.
Can I roast them with vegetables on the same pan?
Not if you want them crisp. Vegetables release a lot of water and the chickpeas sit in that humidity for the whole roast. Two pans on two racks works, with the chickpeas on the upper one, and the pans swapped halfway through.
Do they need to be dried if I am adding them to a salad?
Less strictly, since they will be eaten within minutes and surrounded by dressing anyway. The drying step exists to buy days of shelf life. For same-day use, twenty-five minutes at 400 with a quick towel roll is enough, and the same seasoning rules apply.
Make one can as written, with the twenty-minute dry and the ten minutes in the turned-off oven, and taste one on the third day. That is the test that settles whether any of the rest of it is worth the trouble in your kitchen.