
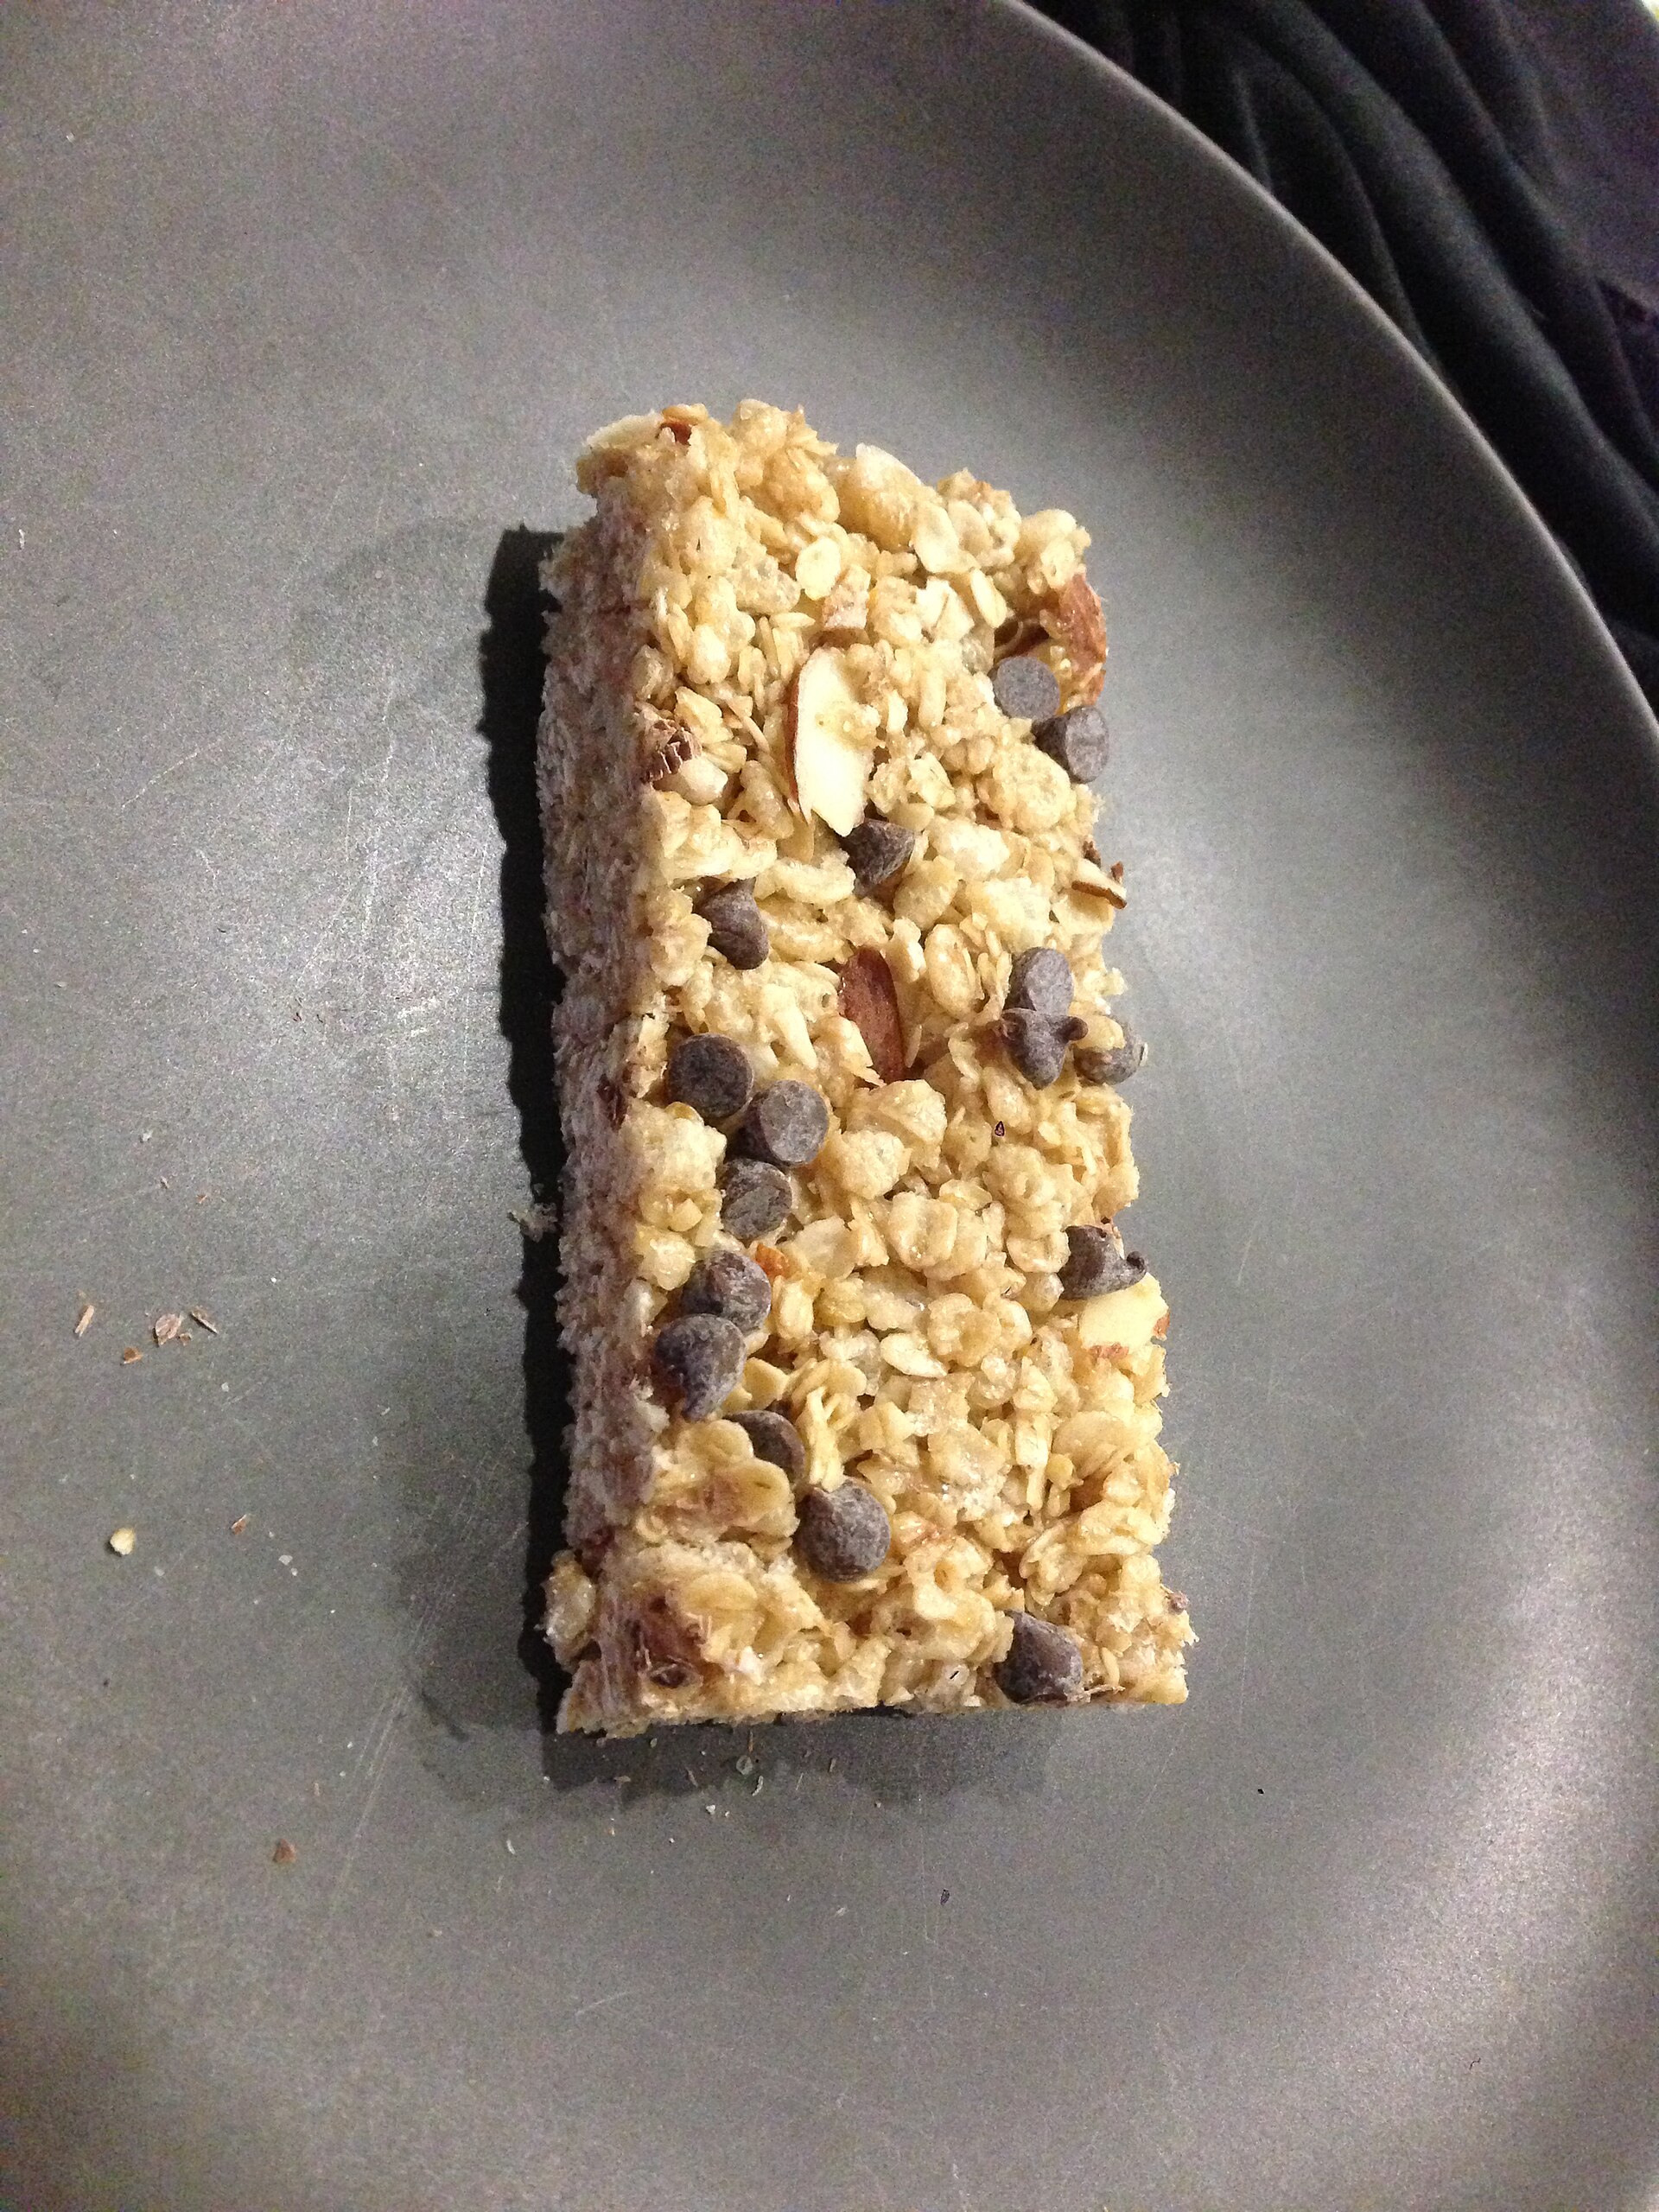
The bars set while the oven is busy with something else. That is the whole argument for them. From the moment the saucepan hits the burner to the moment the pan goes into the refrigerator is under nine minutes, and everything after that happens unsupervised while dinner cooks.
The recipe is four things: rolled oats, peanut butter, a liquid sweetener, and salt. Butter is optional and does something specific. What separates a chewy bar from one that shatters, and a bar that survives a lunchbox from one that turns into a smear by Wednesday, is a ratio and a temperature, not a longer ingredient list.
Six batches went through the same eight-inch square pan to find where those lines sit. What follows is what changed, and by how much.
- Base ratio: 3 cups rolled oats, 1 cup peanut butter, 1/2 cup honey or maple syrup
- Active time: under 9 minutes
- Set time: 45 minutes in the refrigerator, 20 in the freezer
- Yield: 16 bars from an 8-inch square pan
- Holds: four days wrapped at room temperature, two weeks chilled, three months frozen
- The one mistake: letting the syrup come to a boil
The ratio, and the two numbers that move
Three to one to one half, by volume: oats, peanut butter, syrup. Every version tested started there. The rolled oats are structure, the peanut butter is fat and binder, and the syrup is the part that actually sets, because a sugar solution cooled below room temperature behaves like glue.
Salt is the fourth ingredient and it is not optional. Half a teaspoon with salted commercial peanut butter, three-quarters with an unsalted natural one. Without it the bars taste like sweetened cardboard, which is the most common complaint about this whole category of snack.
Only two numbers need to move. Raising the syrup makes the bars chewier and stickier. Raising the oats makes them firmer and eventually crumbly. Everything else in this piece is a consequence of moving one of those two, or of a temperature mistake at the stove.
Volume measures are used here on purpose, because this is a recipe people make on a weeknight without weighing anything. If you do own a scale, the same ratio runs roughly 270 grams of oats to 260 grams of peanut butter to 170 grams of syrup, and the weights are worth writing on the inside of a cabinet door once you settle on a version you like.
The pan size is the last fixed variable. An 8-inch square holds this quantity at the right depth. A 9-inch square spreads the same batch thin, sets faster, and produces a crisper bar that snaps instead of bending, which is a legitimate outcome if that is what you are after. A loaf pan makes something closer to a block than a bar.
No bake oat bars, step by step

- Line an 8-inch square pan with two crossed strips of parchment, each wide enough to hang over opposite edges. Those overhangs are the handles that lift the slab out later.
- Measure 3 cups of old-fashioned rolled oats into a large bowl. Not instant, not steel-cut. Instant oats are pre-cut and turn the bars pasty; steel-cut never softens and stays gravel.
- In a small saucepan over medium-low heat, combine 1 cup peanut butter, 1/2 cup honey or maple syrup, 3 tablespoons butter if you are using it, and the salt.
- Stir constantly for two to three minutes, until the mixture is glossy and pours off the spoon in a smooth ribbon. Pull it the second it moves like warm caramel. It should never bubble at the edges.
- Off the heat, stir in a teaspoon of vanilla if you keep it around.
- Pour over the oats and fold with a silicone spatula for about forty-five seconds, scraping the bottom of the bowl until no dry oats are left hiding underneath.
- Scrape into the pan and press hard, which is a real step and gets its own section below.
- Refrigerate uncovered for 45 minutes, lift out by the parchment, and cut on a board rather than in the pan.
Chewy or firm: what to change
Each of these was tested alone against the base recipe, so you can move one variable and predict the result instead of guessing.
| Variable | Chewier | Firmer | What you notice |
|---|---|---|---|
| Syrup | 2/3 cup | 1/3 cup | More syrup means a bar that bends before it breaks and sticks to the wrapper |
| Oats | 2 3/4 cups | 3 1/2 cups | Past 3 1/2 cups there is not enough binder and the corners shed |
| Butter | none | 4 tablespoons | Butter sets hard when cold and softens fast on a warm counter |
| Peanut butter | natural, runny | commercial, stabilized | Stabilized brands hold a firmer slab; natural ones can weep oil |
| Add-ins | chocolate chips | 2 tablespoons ground flax | Flax absorbs liquid and tightens the crumb without extra oats |
The one combination to avoid is maximum syrup plus minimum oats. It tastes good and it never becomes a bar, no matter how long it sits in the freezer. Those are cookies you eat with a spoon.
Why a boiled syrup ruins the batch
Honey and maple syrup are sugar solutions, and heating them past roughly 235 degrees begins concentrating them toward soft-ball stage. Bars made from a syrup that reached a rolling boil come out of the refrigerator hard enough to be unpleasant, and they stay that way. There is no fix after the fact.
The other casualty is the peanut butter. Held too hot it breaks, and the oil separates from the solids. The tell is a slick that pools on the surface of the pan within a few minutes of pressing, and a finished bar that reads greasy and dense rather than chewy.
Medium-low heat, constant stirring, and pull it at two to three minutes. If your stove runs hot, do the last thirty seconds off the burner and let residual heat finish the melt. The target is warm and pourable, not cooked.
The press is a step, not an afterthought
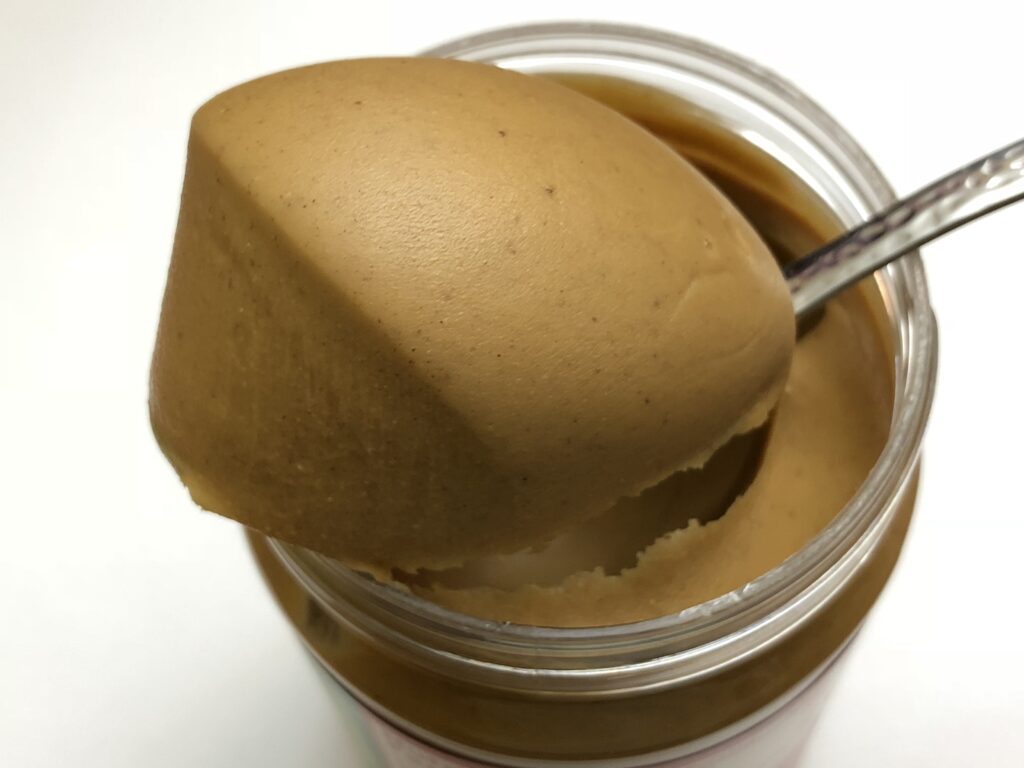
An underpressed slab falls apart at the first bite, and nine times out of ten that is what people mean when they say a no-bake bar did not work. Loose oats have air between them, and air is where a bar breaks.
Use the flat bottom of a dry measuring cup, or lay a second sheet of parchment over the top and lean on it with the heel of your hand. Work the corners first, then the edges, then the middle, and give it a full thirty seconds of real weight. The surface should look compacted and slightly shiny when you are done.
Aim for an even three-quarter-inch depth across the pan. A slab that is half an inch at one end and an inch at the other cracks along the thin part every time, and the thin end also sets faster, so half the batch is ready before the other half.
Set times, and the freezer shortcut
Forty-five minutes in the refrigerator sets a three-quarter-inch slab all the way through. Twenty minutes in the freezer does the same job, but do not push past thirty: the edges go brittle and chip when the knife comes down.
The counter is not a reliable option. At around 70 degrees the pan firms up in roughly two hours but never fully. At 78 degrees and above it does not set at all, because the fat in the peanut butter stays liquid. In August, the refrigerator is the only answer.
A slab that has been cut can go straight back into the refrigerator, and it firms again within fifteen minutes. Nothing about this recipe is one-shot, which is part of why it is a good one to hand to a child.
The timing that makes it useful on a weeknight is simple. Start the saucepan when whatever is in the oven has about fifty minutes left. The pan goes into the refrigerator before the table is set, and it comes out cut and ready roughly when the plates are being cleared. No step in the middle needs attention, which is the difference between a dessert that gets made and one that stays a good idea.
Cutting them without the crumble
Cut cold, on a board, with a large chef’s knife. One straight downward press, heel to tip, no sawing. Sawing drags oats sideways and tears the edge, and that torn edge is what crumbles into the lunch bag two days later.
Wipe the blade between cuts. With chocolate chips in the mix, run the knife under hot tap water and dry it before each pass; a warm blade slices through a chip instead of dragging it.
Four cuts one way and four the other gives sixteen bars of a reasonable snack size. Three by four gives twelve larger ones that hold together better in transit, which is the version worth making for a backpack.
Four days in a lunchbox: what actually happens
Days one and two, the bars are firm and behave. Day three they soften slightly at room temperature and start pressing into whatever they are wrapped in. Day four is still good if each bar is wrapped individually. By day five the oats have pulled moisture out of the binder and the texture reads stale rather than chewy.
Wrap each bar in parchment or wax paper, not directly in plastic wrap. Plastic against the surface traps the small amount of condensation that comes off a chilled bar and the outside goes tacky. Parchment first, then a container, keeps them dry.
Above about 80 degrees in a backpack, they soften and slump but they do not spoil, since there is no dairy and no egg in the pan. A bar taken straight from the freezer at 7 a.m. is thawed by mid-morning and acts as a small cold pack for whatever it is sitting next to on the way.
Swaps for a nut-free classroom
Sunflower seed butter is the closest one-for-one substitute and behaves identically here. It sometimes turns baked goods green when it meets baking soda, which is a real reaction between chlorogenic acid and an alkaline leavener, but there is no leavener in this pan, so it does not happen.
Tahini works and is noticeably more bitter. Add two extra tablespoons of syrup to balance it. Pumpkin seed butter is excellent and expensive. Soy-based spreads sold for school lunches are sweeter than peanut butter, so drop the syrup to a third of a cup.
To keep it oat-based and seed-free entirely, swap half a cup of the oats for crisped rice cereal, which lightens the texture without changing the binder. If you have made no-bake energy balls, the substitutions carry over directly, since the two recipes run on the same fat-and-syrup structure.
What one bar is worth, roughly
Cut into sixteen, each bar lands somewhere in the neighborhood of 230 to 260 calories, around 7 grams of protein, and 12 to 16 grams of sugar. That is an estimate and the spread is wide, because natural peanut butters, commercial ones, honey, and maple syrup all carry different numbers. Read the labels on what is actually in your pantry.
On the safety side, this is one of the few sweets a seven-year-old can make almost start to finish, since there is no raw flour and no raw egg anywhere in it. Rolled oats are steamed during processing, which is not the same situation as raw flour, and raw flour has been tied to real outbreaks of E. coli and salmonella. If you add flour to bulk out a batch, heat-treat it first: spread it on a sheet pan and bake until it reaches 165 degrees, then cool it.
Honey is the other line worth drawing. It should not be given to a child under twelve months because of the risk of infant botulism, and that applies to a bar containing honey exactly as much as to a spoonful of it. Use maple syrup for that household.
Frequently Asked Questions
Can I use quick oats instead of rolled?
You can, and the bars come out denser and less chewy because the smaller flakes absorb the syrup faster and pack tighter. Reduce the oats by a quarter cup if you go that route. Instant oatmeal from packets is a different product and turns the pan pasty.
Honey or maple syrup?
Either, one for one. Maple is thinner and slightly less sticky, so those bars run a touch softer and need the full 45 minutes chilled. What does not work is pancake syrup, which is mostly corn syrup and water and never firms up the same way.
Why are my bars falling apart?
Three causes, in order of how often they turn out to be the culprit: too many oats for the amount of binder, an underpressed pan, and cutting while the slab was still warm. Fix the press first, since it costs nothing to test.
When do I add chocolate chips?
Let the mixture cool three or four minutes before folding them in, or they melt into brown streaks. For chips that stay visible, press half of them into the surface after the slab is already in the pan.
Can I halve the sugar?
Not without consequences, because the syrup is structural here rather than decorative. A third of a cup is the floor before the slab stops holding together. If you want them less sweet, the better lever is salt: go to a full teaspoon with unsalted peanut butter and the perceived sweetness drops noticeably without touching the binder. Which salt you reach for matters here, since a teaspoon of coarse kosher weighs about half what a teaspoon of fine table salt does.
Do they have to stay refrigerated?
No. Wrapped, they are fine at room temperature for four days, two weeks in the refrigerator, and about three months in the freezer. Freeze them cut and separated by parchment so you can pull one at a time. For more of this kind of thing, our roundup of desserts that finish inside an hour covers the oven-based options.
Make the base version once before adjusting anything. It is the reference point every change in the table above is measured against, and it takes less time than reading about it.