
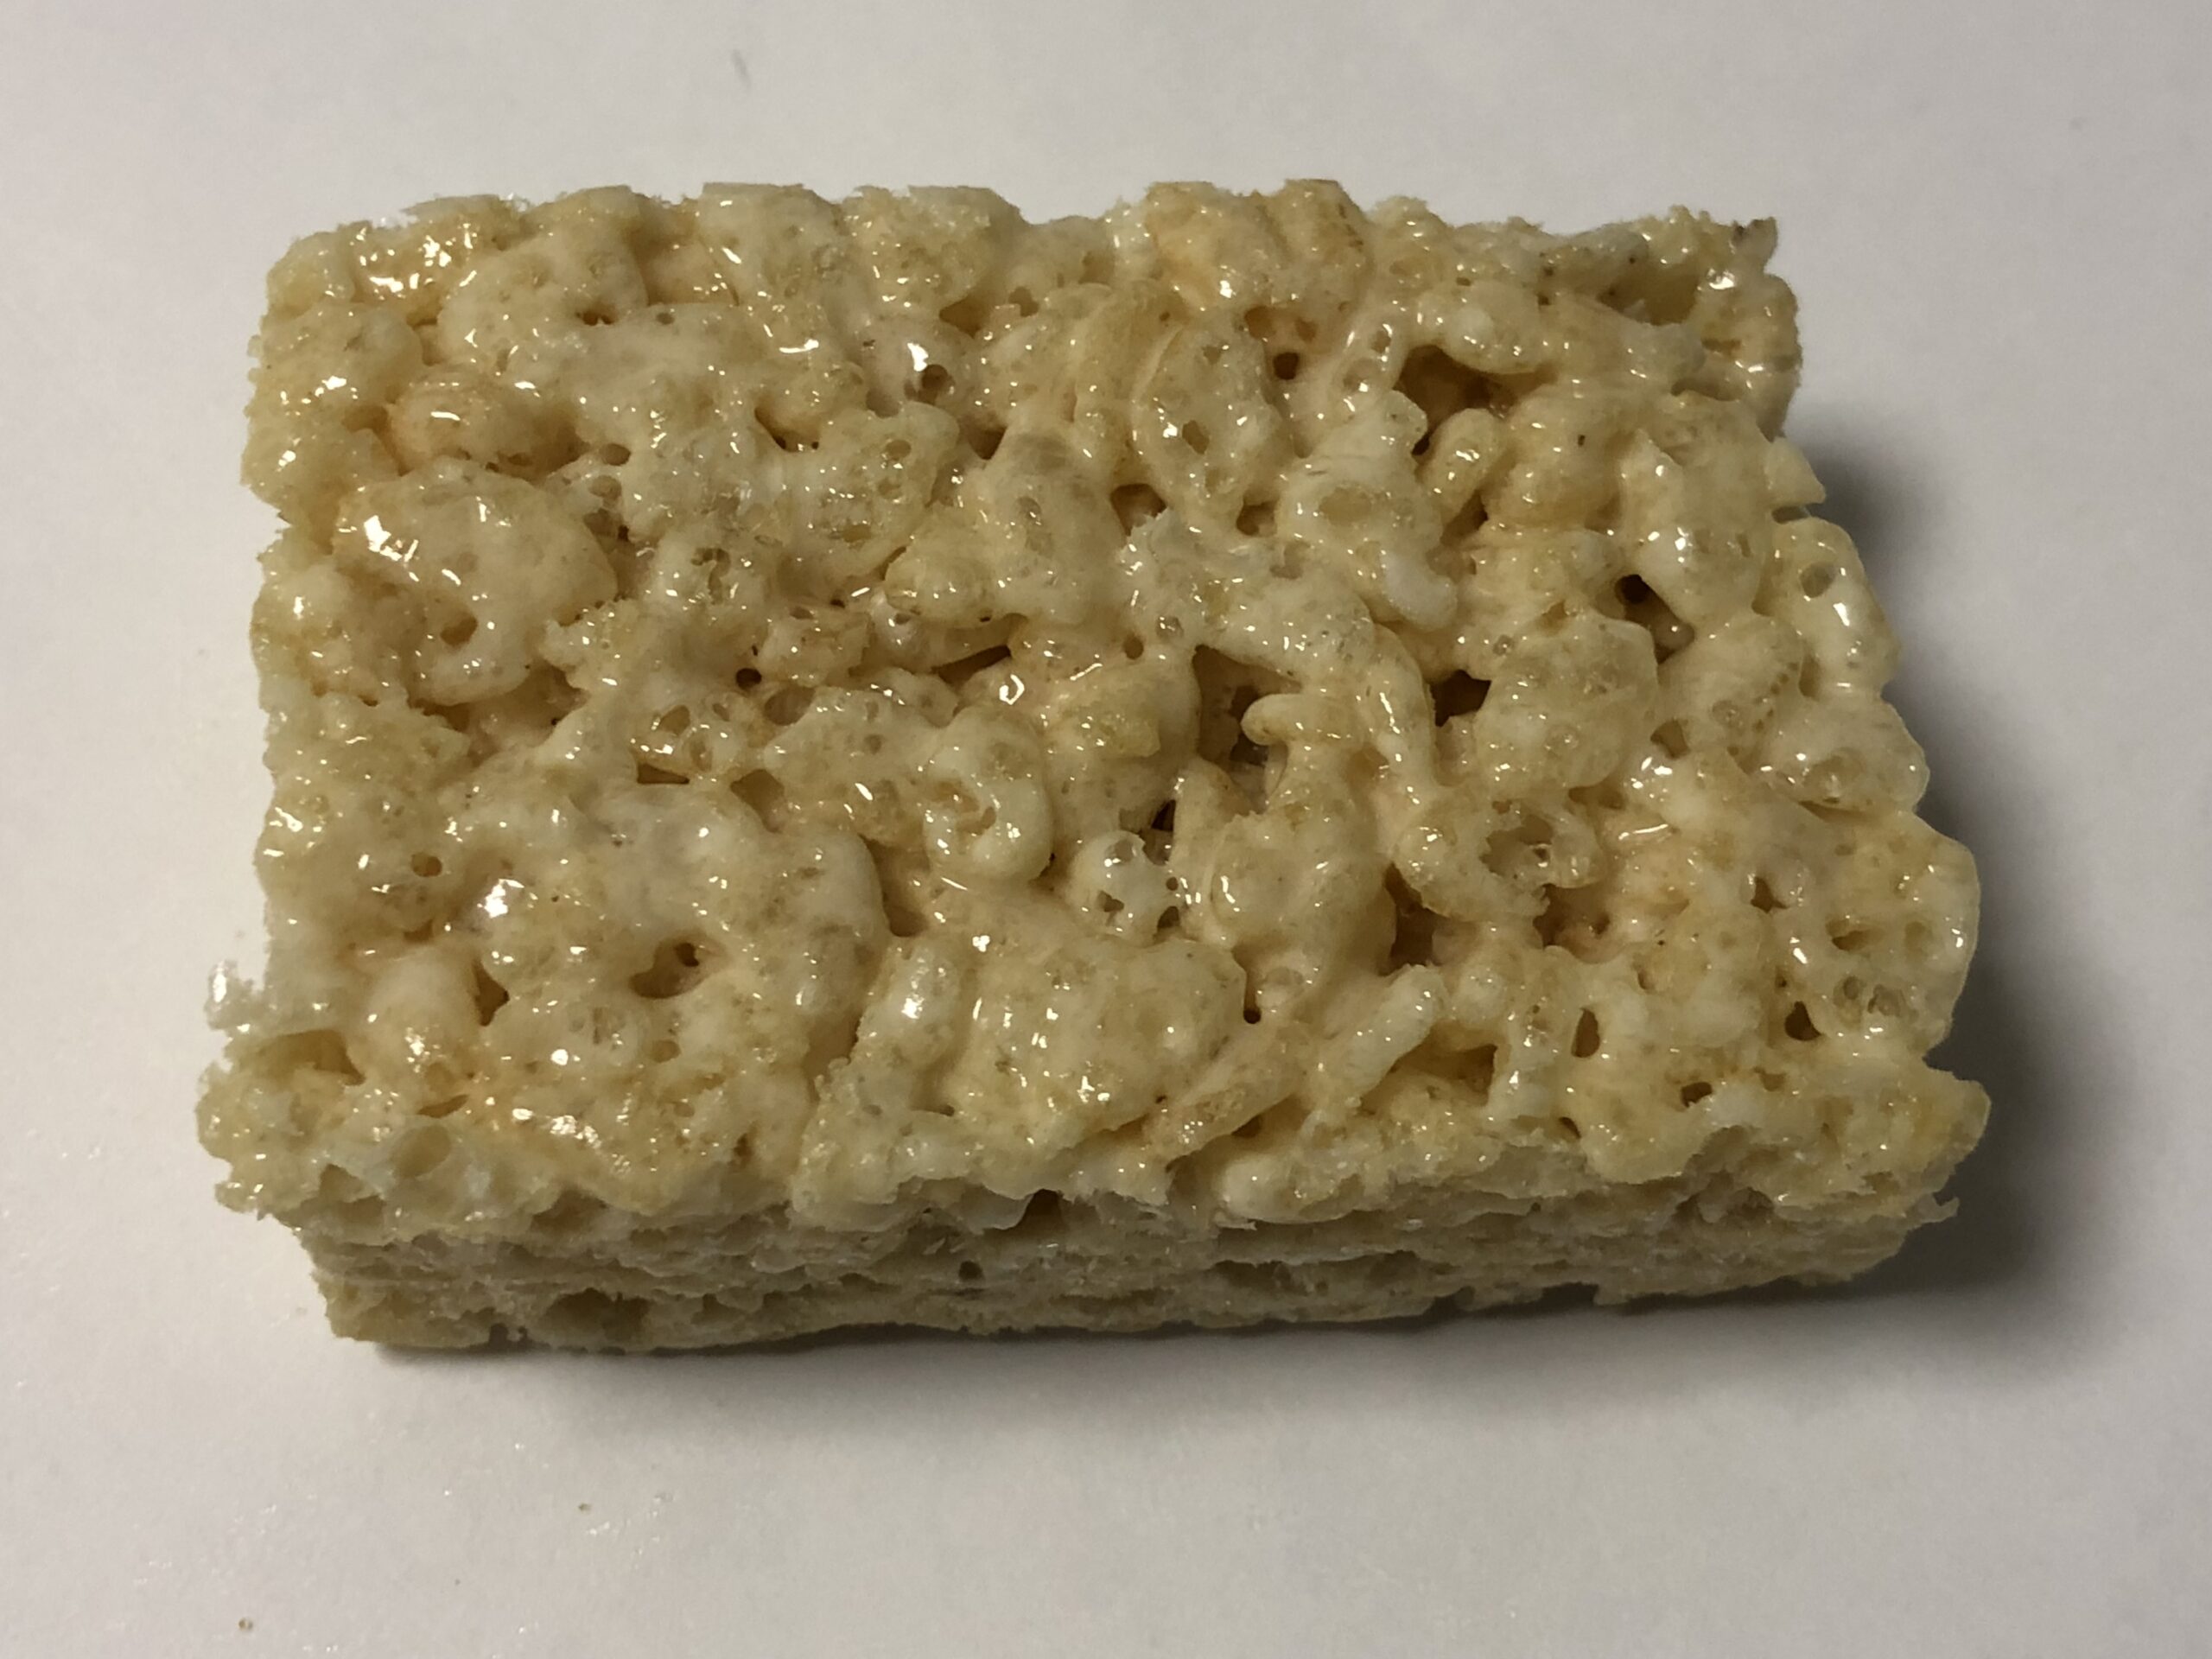
Three ingredients, one saucepan, ten minutes. There is not much room in a cereal treat for anything to go wrong, which is exactly why the standard version tastes the way it does: sweet, and then nothing. Sugar with a texture.
The fix costs four extra minutes and no extra ingredients. Instead of melting the butter, you cook it until the milk solids toast and the pan smells like hazelnuts, and then you carry on with the recipe exactly as written. The result reads as butterscotch and browned nuts, and people ask what is in it.
The other two things this article is about are the ones that turn a good batch into a brick, and neither of them is the butter. One is how hot the marshmallows got. The other is how hard somebody pressed.
- Active time: 14 minutes, plus 45 to set
- Ratio used here: 6 cups cereal, 16 ounces marshmallows, 7 tablespoons butter
- Browning target: amber butter, dark tan specks, roughly 5 minutes
- Marshmallow rule: low heat, pull the pan while a few lumps remain
- Pressing rule: level them, do not compact them
- Best window: the first 24 hours, honestly
Where the flat, sugary taste comes from
A cereal treat has almost no flavor sources. The cereal itself is toasted rice with a little sugar and salt and contributes crunch more than taste. Marshmallow is sugar, corn syrup, gelatin and air. That leaves butter as the only ingredient in the pan capable of producing anything complex, and melting it produces nothing at all.
Melted butter is still just butter. The flavor compounds that make people describe something as nutty, toffee-like or caramelized do not exist in it yet; they have to be made, and making them requires heat past the point where the water in the butter has boiled away.
Once you have tasted the two side by side, the plain version starts to seem like an unfinished recipe. It is the same argument for browning butter before it goes into a chewy chocolate chip cookie, except that here the butter has no competition, so the difference is louder.
What browning does to a stick of butter
American butter is roughly four fifths fat, with most of the rest being water and a small fraction of milk solids, mainly proteins and milk sugar. Those solids are the entire point. They are what sinks to the bottom of the pan, toasts, and turns from white to tan to dark brown.
The sequence is fixed and easy to follow by ear and eye. The butter melts. It foams loudly as the water boils off. The noise dies down, which is the signal that the water is gone and the pan temperature is now free to climb. Within a minute of that, the specks at the bottom start coloring and the smell changes.
What you lose is weight. Cooking off the water shrinks a stick by somewhere around a sixth, so a recipe written for six tablespoons of melted butter needs about seven tablespoons going into the pan to come out even. Skipping that adjustment gives you a drier batch, and it is the most common reason a browned version turns out stiffer than the plain one.
Do not strain the solids out. Some savory applications call for that; this is not one of them. The browned specks are where the flavor lives, and in a pale batch of treats they read as tiny freckles that nobody objects to.
The color to stop at, and the thirty seconds after it
The target is an amber liquid with dark tan specks and a smell that is unmistakably nutty rather than merely buttery. It takes about five minutes over medium heat for seven tablespoons, though burner strength moves that number more than anything else.
| What you see | What you smell | Where you are |
|---|---|---|
| Loud foam, pale yellow | Butter, nothing more | Water still boiling off, about halfway |
| Foam subsiding, specks pale | Warm dairy | Too early, pull now and you get no flavor |
| Liquid amber, specks tan to hazelnut | Nuts, toffee | The target, take it off the heat |
| Deep brown, specks nearly black | Sharp, slightly acrid | Past it, the bitterness will carry through |
The thirty seconds after you pull the pan matter as much as the five minutes before. A hot saucepan keeps cooking what is in it, and butter that looked correct on the burner can be a shade too far by the time you turn around. The fix is to have the marshmallows measured and sitting next to the stove, so they go in immediately and drop the temperature.
Working blind is the usual failure. Watch the pan for the whole five minutes, because the window between the target and burnt is about forty seconds wide and there is no way to reverse it.
The pan that makes the color readable
Use a light-colored pan. Stainless steel or a pale enameled surface shows the color of the specks against a background you can actually judge. A black nonstick pan or seasoned cast iron hides exactly the thing you are trying to see, and the number of batches burned in dark pans is not small.
If a dark pan is all you have, drip a little butter onto a white ceramic plate every thirty seconds after the foam dies down and judge it there. It is a nuisance and it works.
Size matters less, but a heavy-bottomed pan of about three quarts is the sweet spot. It spreads heat evenly enough to keep the solids from scorching in one spot, and it is big enough that the whole batch of cereal can be folded in without moving to a second bowl.
Marshmallow ratio, chewy against hard
The ratio printed on the cereal box makes a treat that is thin, dry and firm. Standard practice on that box is roughly six cups of cereal to ten ounces of marshmallows and three tablespoons of butter, and it is a ratio built for cost rather than texture.
| Cereal | Marshmallows | Butter | What you get |
|---|---|---|---|
| 6 cups | 10 ounces | 3 tablespoons | Firm, dry, snaps rather than pulls |
| 6 cups | 13 ounces | 5 tablespoons | Balanced, holds a clean edge |
| 6 cups | 16 ounces | 7 tablespoons | Soft and chewy, the version here |
| 6 cups | 20 ounces | 8 tablespoons | Sticky, sags at room temperature |
Reserve about two cups of the marshmallows and fold them in off the heat, after the cereal. They soften without fully melting and leave visible white pockets that stay soft for days, which does more for the eating experience than any change to the ratio.
Fresh marshmallows behave differently from an open bag that has been in the cupboard since spring. Stale ones have lost water, melt slower and set harder, so a bag that feels firm through the plastic wants an extra tablespoon of butter to compensate.
Low heat is the second thing that decides texture
Sugar heated in a pan does what sugar always does: it loses water and starts to caramelize, and every degree past melting pushes the finished bar toward hard candy. Marshmallows brought to a simmer will set into something you can break a tooth on, and no ratio saves them.
Turn the burner to low before the marshmallows go into the browned butter, stir steadily, and take the pan off the heat while roughly a fifth of the mass is still visible as soft lumps. Residual heat finishes the job during the thirty seconds it takes to add the cereal.
The tell is the surface. A properly melted marshmallow mixture is glossy and pours in a thick ribbon. One that went too far looks matte, pulls away from the pan in a single mass, and stiffens visibly while you are stirring.
Brown butter rice krispie treats, pan to cut
- Butter a 9 by 13 inch pan, or line it with parchment leaving an overhang on two sides. Do this first; there is no time later.
- Measure 6 cups of crisped rice cereal into a bowl and set 2 cups of marshmallows aside from a 16 ounce bag. Put both within arm’s reach of the stove.
- Melt 7 tablespoons of butter in a light-colored three quart saucepan over medium heat. Let it foam, wait for the foam to subside, then watch the specks.
- When the liquid is amber and it smells like toasted nuts, roughly five minutes, take the pan off the heat.
- Return it to low heat and add the remaining marshmallows with half a teaspoon of fine salt. Stir constantly for two to three minutes.
- Pull the pan while a fifth of the marshmallows are still lumpy. Stir in a teaspoon of vanilla off the heat.
- Add all 6 cups of cereal at once and fold from the bottom up, no more than twelve strokes. Scatter in the reserved 2 cups of marshmallows on the last two strokes.
- Scrape everything into the pan and level it with a buttered spatula or a sheet of parchment under your palm. Level, do not press down.
- Leave it uncovered at room temperature for 45 minutes before cutting.
Twelve strokes is a real number, not a figure of speech. Every extra fold crushes cereal and squeezes air out of the mixture, and crushed cereal is the difference between a bar that shatters lightly and one that eats like a paste.
The pressing mistake almost everyone makes
Somewhere along the way the instruction became press firmly, and it is wrong. Air between the cereal pieces is a structural ingredient here. Compacting the mixture into the corners with the heel of your hand removes that air and produces a dense slab that has to be gnawed rather than bitten.
The correct amount of pressure is whatever it takes to make the surface level and reach the corners, and no more. A buttered spatula held flat, or a piece of parchment with your hand moving in slow circles over it, gets there in about twenty seconds.
Pan choice controls thickness better than pressure does. Nine by thirteen gives a bar just under an inch tall and twenty-four pieces. An eight by eight pan with the same batch gives a thick, generous bar and sixteen pieces, and takes an extra fifteen minutes to set.
Salt, vanilla, and two additions worth the trouble
Half a teaspoon of fine salt in the marshmallows is not optional in a browned-butter batch. Browning creates savory, roasted notes, and without salt to anchor them the result tastes oddly hollow. A pinch of flaky salt across the top before it sets is a second, different kind of good.
Vanilla goes in off the heat, one teaspoon, after the marshmallows are melted. Added to a hot pan it flashes off and does nothing.
The two additions worth making are a cup of toasted pecans or almonds folded in with the cereal, and a quarter teaspoon of ground cardamom or cinnamon stirred into the butter as it comes off the heat. Both lean into the browned flavor instead of fighting it. Chocolate, drizzled or chipped, is popular and does the opposite: it is loud enough to bury the thing you spent five minutes making.
Molten sugar burns, and the rule when kids help
Melted marshmallow is hotter than it looks and it sticks. It is worth saying plainly because this is a recipe children are usually invited into: sugar at that temperature clings to skin instead of running off, which makes a splash on a wrist meaningfully worse than a splash of hot water. Keep the stove steps adult-only and hand over the pan once the mixture is in it and cooling.
The buttering, the leveling, the sprinkling of flaky salt and the cutting are all genuinely fun and completely safe, which is enough of a job for a helper. That division of labor works for most cooking projects with kids and it is not a downgrade for them.
One ingredient note that catches people out: most crisped rice cereal is flavored with barley malt, so it contains gluten despite being made of rice. Anyone cooking for a household that avoids it needs a cereal specifically labeled gluten free, which is a swap that behaves identically in the pan and is worth knowing alongside the rest of gluten free baking. Marshmallows contain gelatin, which rules them out for anyone eating vegetarian, and plant-based versions melt faster and set softer.
Cutting, storing, and the day-three drop
Cut with a long knife wiped with butter, in straight downward strokes rather than sawing. A bench scraper works better than any knife if you have one. Let the pan set for 45 minutes and no longer, because a fully cooled slab resists the blade and tears at the edges.
Store them in an airtight container at room temperature with parchment between layers. They are at their best within the first day, still very good on the second, and noticeably drier and firmer by the third as the marshmallow gives up water to the cereal.
The refrigerator is the wrong tool. Cold hardens the sugar structure and pulls moisture out faster, and a refrigerated treat comes back stiff even after it warms up. Freezing works if you wrap pieces individually and eat them within about six weeks; thaw at room temperature for twenty minutes.
Frequently Asked Questions
Can I brown butter in the microwave?
Not reliably. Browning depends on watching the color and pulling the pan inside a narrow window, and a microwave gives you neither visibility nor fine control, plus butter tends to erupt. The stove takes five minutes and one saucepan.
Why did my batch turn out hard even with extra marshmallows?
Heat, almost certainly. Marshmallows that were brought to a bubble or held on the burner until perfectly smooth have already started caramelizing, and that sets firm no matter what the ratio says. Pull the pan while lumps remain.
Does the butter have to be unsalted?
Unsalted gives you control, and the recipe adds half a teaspoon of fine salt of its own. If salted butter is what is in the refrigerator, use it and cut the added salt to a quarter teaspoon. Nothing else changes.
Can I use marshmallow creme from a jar?
It works and behaves differently. Creme is already soft and needs less heat, so stir it into the browned butter off the burner entirely. The result is softer and stickier, and it will not hold a sharp cut edge.
How far ahead can I make these for a bake sale?
The night before, at the outside. Made in the morning for an afternoon table is better. If you have to go two days out, wrap each piece individually in plastic as soon as they are cut, which slows the drying more than a shared container does.
Brown one extra tablespoon of butter the first time and taste it off a spoon before the marshmallows go in. That single spoonful is what tells you where your burner puts the target.