
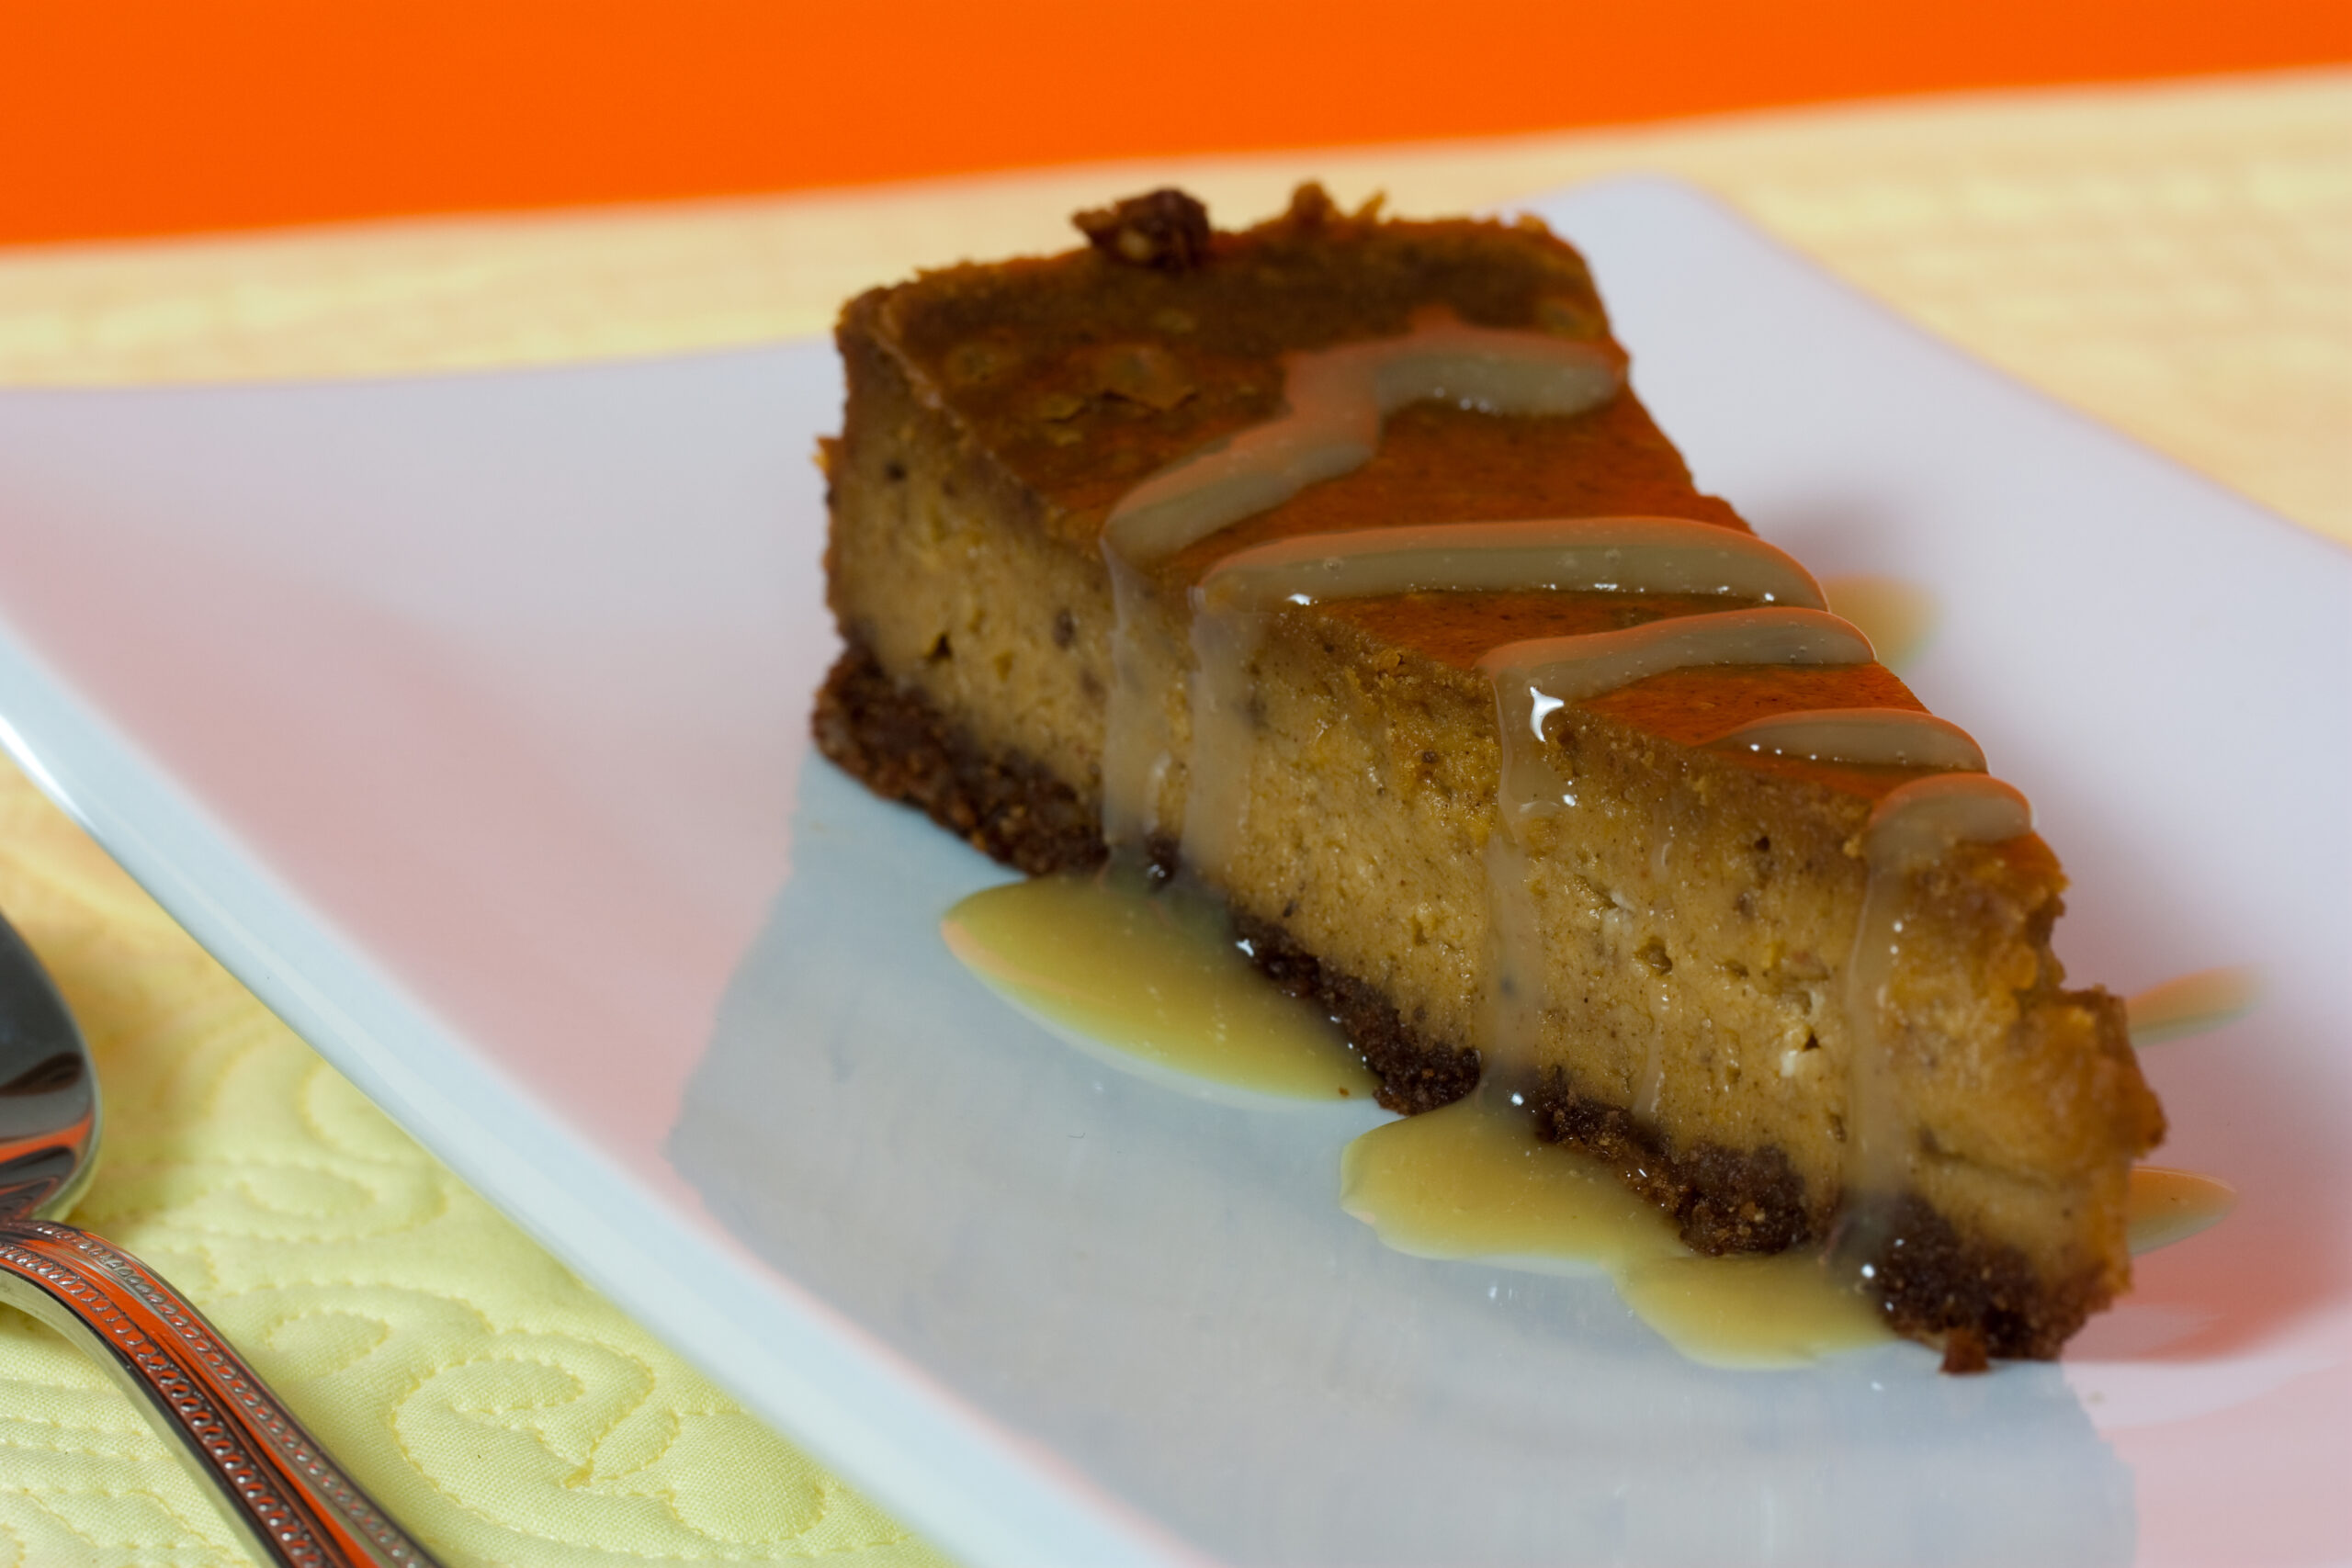
Every oven in the house is already booked for a fourteen-pound bird and six side dishes, and a baked cheesecake needs an hour in the oven followed by another hour cooling inside it with the door cracked. That math does not work on the one day of the year when it matters least to be wrong.
The version below skips the oven completely. No water bath means no springform pan wrapped in foil praying it does not leak, no baking means no surface that can crack while cooling, and the whole thing sets in the refrigerator instead, using nothing more exotic than cream cheese, whipped cream, and time.
The tradeoff is patience rather than skill. It needs twelve hours before it is sliceable, which means it is built the day before, not the morning of, and that is precisely what makes it useful on a day with no oven space to spare.
- Crust: graham cracker and butter, set in the freezer, not baked
- Filling: cream cheese, whipped cream, pumpkin puree, no eggs, no gelatin
- Set time: at least 12 hours in the refrigerator
- Equipment: one 9-inch springform pan, a mixer, no oven at all
- Make ahead window: up to 2 days before serving
- Keep refrigerated: the whole way through, since it never sets firm enough to hold at room temperature for long
Why no oven means no crack and no water bath
A baked cheesecake cracks almost always because of uneven heat and a filling that sets too fast at the edges while the center is still loose, which is exactly the failure mode a water bath is designed to prevent by surrounding the pan with gentle, even steam heat. Remove the oven from the process entirely and the crack risk disappears along with it, since nothing in a chilled, unbaked filling is drying out or shrinking unevenly.
The structure that a baked cheesecake gets from egg proteins setting in heat has to come from somewhere else in a no-bake version, and here it comes from whipped cream folded into softened cream cheese, plus the natural firming that happens as cold fat solidifies in the refrigerator. It is a different mechanism, not a shortcut version of the same one.
That also means there is no raw egg anywhere in this recipe, which removes a food safety concern that a traditional baked custard filling has to manage through cooking temperature. Nothing here needs to reach a specific internal temperature to be safe, since nothing is raw to begin with; the only requirement is that it stays properly refrigerated the way any dairy-based dessert would.
The crust that firms in the freezer
A baked graham cracker crust holds together because the butter partially melts and then resets as the crust cools, fusing the crumbs into a solid layer. A no-bake version gets there by chilling instead of baking: press the crumb and melted butter mixture firmly into the pan, then freeze it for 15 to 20 minutes before the filling goes in.
The pressing matters more here than in a baked version, since there is no oven heat to help fuse loose crumbs together. Using the flat bottom of a measuring cup to compress the mixture firmly and evenly across the base and slightly up the sides gives a crust that slices cleanly instead of crumbling apart under the first fork.
The gelatin-free set, explained
Many no-bake cheesecakes rely on gelatin to set the filling firm enough to slice, which works well but adds a step of blooming and dissolving it that can seize into rubbery strings if it is not handled carefully. This version skips it entirely, relying instead on the combined firmness of cold cream cheese fat and stiffly whipped cream.
The result is a filling that sets softer than a gelatin-stabilized version, closer to a frozen mousse than to a dense New York-style cheesecake, but it still holds a clean slice as long as it gets the full chilling time and stays cold until served. Anyone who prefers a firmer, more classic cheesecake texture can add a tablespoon of unflavored gelatin bloomed in two tablespoons of water and melted gently before folding it into the cream cheese base.
No bake pumpkin cheesecake, step by step
- Mix 1 1/2 cups graham cracker crumbs with 6 tablespoons melted butter and 2 tablespoons sugar. Press firmly into a 9-inch springform pan and freeze 15 minutes.
- Beat 16 ounces of softened cream cheese until completely smooth, with no lumps remaining, about 2 minutes on medium speed.
- Add 1 cup pumpkin puree, 3/4 cup powdered sugar, 1 1/2 teaspoons pumpkin pie spice, and 1 teaspoon vanilla. Beat until fully combined.
- In a separate bowl, whip 1 1/2 cups heavy cream to stiff peaks.
- Fold the whipped cream into the pumpkin mixture in three additions, working gently to keep as much air in the filling as possible.
- Pour the filling over the chilled crust and smooth the top with a spatula.
- Cover and refrigerate at least 12 hours, and ideally overnight, before removing the springform ring.
- Slice with a knife run under hot water and wiped dry between cuts for clean edges.
Step 5 is the one that decides the final texture. Stirring the whipped cream in hard, the way you would mix a batter, knocks the air back out and leaves a dense, slightly gummy filling instead of the light set this method is built for.
Getting the pumpkin puree dry enough
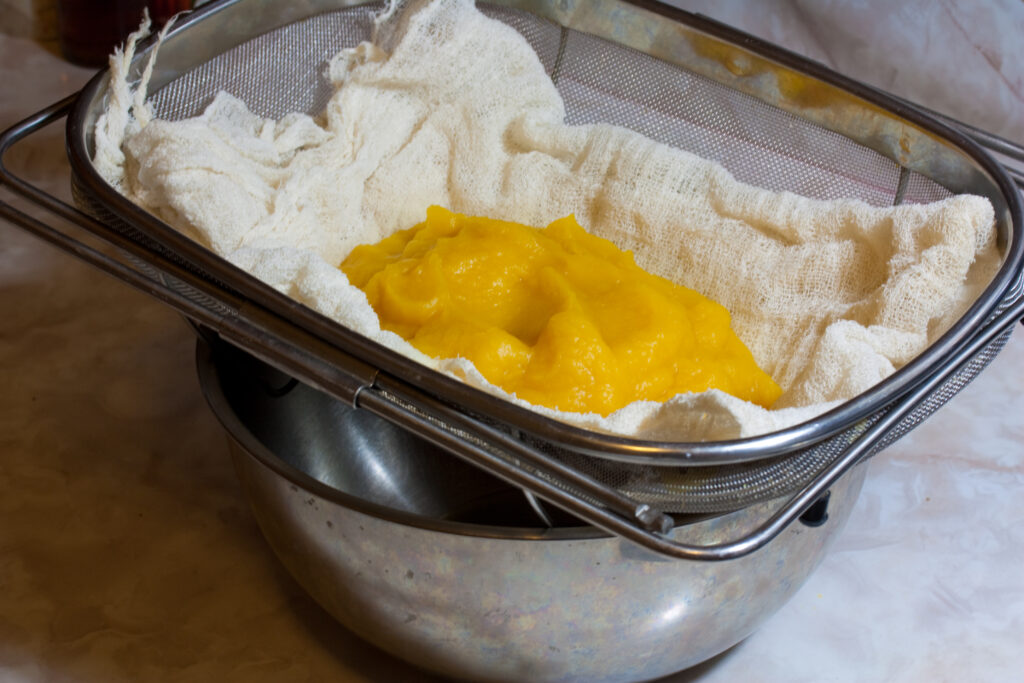
Canned pumpkin puree varies noticeably in water content from brand to brand, and a wetter can can leave the filling too soft to hold a clean slice even after the full chilling time. Pressing the puree through a fine strainer, or spreading it on a few layers of paper towel for ten minutes and patting the surface dry, removes the excess water that causes this.
This step is easy to skip and rarely feels necessary until the cheesecake is sliced and the filling is visibly looser than expected. It costs five minutes and removes the single most common reason this dessert underperforms.
Some brands of canned pumpkin run drier than others to begin with, so it is worth checking the can before assuming this step is needed. If a spoonful mounds and holds its shape rather than slumping off the spoon, the puree is likely dry enough already and the straining step can be skipped without consequence.
The twelve hours it needs before slicing
Twelve hours is not a suggestion here, it is the minimum time the fat in the cream cheese and whipped cream needs to firm up enough to hold a slice shape. Cutting into it at six or eight hours, even if it looks set on the surface, usually reveals a center that slumps rather than stands.
Because the filling contains raw dairy in a whipped, aerated form rather than a cooked custard, it also needs to stay properly refrigerated the entire time it sets and afterward, both for texture and for food safety. It should not sit out at room temperature for more than about two hours total, including serving time, the same limit that applies to any perishable dairy dessert.
A slice that holds its edge
| Problem | Likely cause | Fix |
|---|---|---|
| Slice slumps and will not hold a point | Not enough chill time, or wet pumpkin puree | Chill longer; strain the puree next time |
| Filling tastes grainy | Cream cheese was cold, not softened, when beaten | Bring cream cheese fully to room temperature first |
| Crust crumbles when sliced | Crumb mixture not pressed firmly enough | Press hard with a flat-bottomed cup before freezing |
| Top looks slightly deflated | Whipped cream was stirred in rather than folded | Fold gently in stages next time |
Make-ahead timeline for a busy week
This dessert is built for exactly the kind of week where nothing can happen at the last minute. Made two days ahead, it sets more firmly than the twelve-hour minimum and slices even more cleanly, with no loss of flavor in that extra day.
The crust can be pressed and frozen up to three days ahead on its own, wrapped tightly, before the filling ever goes in, which is useful for spreading the work across two separate free moments rather than needing one uninterrupted hour.
Storing it, and how long it keeps
Covered and refrigerated, the finished cheesecake holds its texture well for four to five days, which comfortably covers a make-two-days-ahead plan with a few days of leftovers afterward. It does not travel or hold well at room temperature the way a baked cheesecake with a firmer, cooked structure does, so it needs to stay cold until the moment it is served.
Freezing works for up to a month if wrapped tightly, though the texture turns slightly icier after thawing than it was fresh. Thawing overnight in the refrigerator rather than on the counter keeps it from turning soupy before it is fully thawed through.
Slicing before freezing, rather than freezing the whole cake and cutting it later, makes portioning easier afterward, since a fully frozen cheesecake is difficult to cut cleanly without the slices cracking along the way. Individually wrapped slices also thaw faster than a whole cake would, which is useful for pulling out a single serving rather than the entire dessert.
Swaps and dietary adjustments
A gluten-free graham cracker or a ground pecan and butter crust both substitute cleanly for the standard crust without changing the filling at all. For a lighter version, part of the whipped heavy cream can be replaced with a stabilized whipped topping, though the texture turns slightly less rich and slightly more foam-like.
Dairy-free cream cheese and coconut whipped cream can replace both dairy components, though the set will be noticeably softer, since dairy fat firms up more reliably in the refrigerator than most dairy-free substitutes do. Adding the optional gelatin step becomes more useful in a dairy-free version, where extra structural help matters more.
Frequently Asked Questions
Can I use fresh roasted pumpkin instead of canned?
Yes, as long as it is well drained and pureed completely smooth. Fresh roasted pumpkin tends to hold more water than canned puree, so straining it is not optional the way it sometimes is with canned.
Why is my filling not firming up even after 12 hours?
The most common cause is cream cheese that was too warm when the whipped cream was folded in, which keeps the mixture loose rather than letting the fat set properly in the cold. A close second is wet pumpkin puree that was not strained first.
Can I make this in individual cups instead of one pan?
Yes, and it actually sets a bit more reliably in smaller portions since there is less mass to chill through. Divide the crust and filling between six to eight small jars or ramekins and reduce the chill time slightly, checking for a set filling after about 8 hours.
Is it safe to leave out on the dessert table for a few hours?
For no more than about two hours total, the same limit that applies to any dessert built on whipped dairy. For a longer gathering, keep it refrigerated and bring out fresh slices periodically rather than leaving the whole cake out from the start.
Can I add a topping before serving?
A thin layer of extra whipped cream, a scatter of crushed pecans, or a light dusting of cinnamon all work well added just before serving. Anything wetter, like a caramel drizzle, is best added slice by slice rather than over the whole cake, since it can slide on the soft filling.
Do I need a springform pan specifically?
A springform pan makes removing the finished cheesecake far easier, since the sides release without inverting or scraping the pan. A regular pie dish works in a pinch, but the cheesecake then has to be served straight from the dish in slices rather than lifted out whole.
Build it the night before the oven fills up with everything else, and it is one less thing competing for space on the day that matters.