
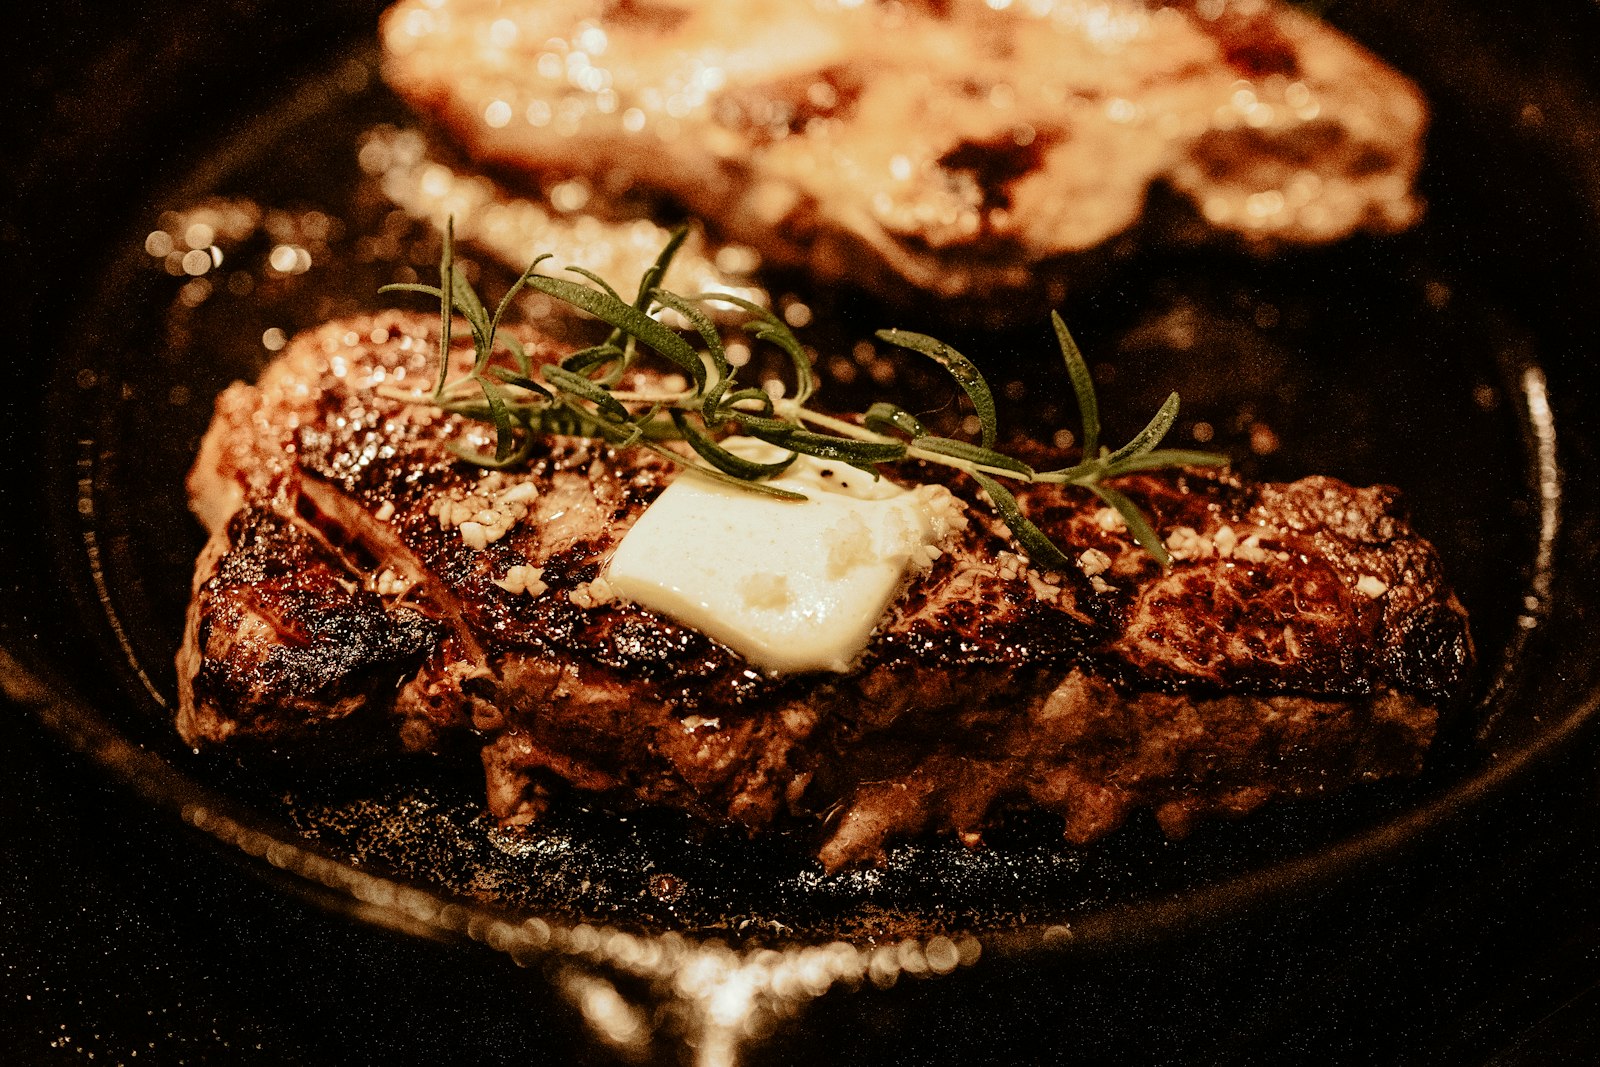
Cast iron skillets divide home cooks into two camps: people who swear by them and people who inherited one from a grandparent and left it in a drawer, unsure what to do with it. Both camps are usually wrestling with the same question — how does the black patina form, why does it flake off, and what does “seasoning” really mean when nobody agrees on the details.
This guide walks through what seasoning actually is chemically, how to build it on a new or bare pan, how to rescue a rusted skillet that looks beyond saving, and how to keep the layer intact once you have it. There are strong opinions in the cast iron world, but the underlying science is straightforward once you understand the two things that actually matter: oil choice and heat.
Time: ~90 minutes for a new pan, ~2 hours for a rusted rescue
Difficulty: Easy — patience matters more than skill
Best oils: flaxseed, grapeseed, or refined avocado
Oven: 450–500°F
Layers: 3–5 thin coats
What “seasoning” actually is
Seasoning is not oil sitting on the surface of the pan. It is a layer of polymerized fat — oil molecules that have been driven by heat to bond with each other and with the iron beneath. The chemical name is a polymer, and it is chemically related to the film that forms on a poorly maintained wooden cutting board or on the sticky underside of a rarely cleaned frying pan lid.
The reason cast iron benefits from this layer, while other materials do not, is that iron is reactive. Bare iron rusts when exposed to water and oxygen, and it reacts with acidic ingredients like tomato and lemon in ways that can leave metallic off-flavors. A well-polymerized layer creates a barrier between the iron and everything you cook, and it also fills the microscopic surface texture so food releases more easily.
Well-formed seasoning is smooth, matte-to-glossy black, and does not come off when scrubbed with a stiff brush and hot water. If your pan is sticky to the touch, orange with rust, or shedding black flakes into food, the seasoning has either broken down or was never properly cured in the first place.
Choosing an oil
Not all oils polymerize well. The property that matters is the iodine value — a measure of how many double bonds are in the fat, which is what allows the molecules to cross-link during curing. Oils with high iodine values dry to a hard film; oils with low iodine values stay soft and gummy no matter how long you bake them.
| Oil | Iodine value | Best use |
|---|---|---|
| Flaxseed | 170–200 | Fastest, hardest seasoning; can flake if applied too thick |
| Grapeseed | 124–143 | Balanced choice; hard finish, less prone to flaking |
| Refined avocado | 85–90 | Slower to cure but very high smoke point, forgiving |
| Canola / vegetable | 110–126 | Widely available; adequate but slower to build |
| Olive oil | 80–88 | Cures but stays softer; not ideal for base layers |
| Coconut oil | 7–10 | Does not polymerize well; avoid for seasoning |
Whichever oil you choose, use it in the thinnest possible layer. Thick oil pools burn instead of polymerizing, leaving sticky spots that later flake off and take good seasoning with them.
How to season a new or bare skillet
New cast iron sold “pre-seasoned” still benefits from a few home-applied layers, and bare or restored pans need to be built from scratch. The process is the same either way.
- Wash the pan with warm water and a small amount of dish soap. The old rule that soap destroys seasoning is outdated — modern dish soap does not contain lye, and a light wash will not damage a properly cured layer.
- Dry the pan completely, then heat it on the stovetop over low heat for 3–5 minutes to drive off any remaining moisture from crevices.
- Pour a small amount of oil onto the warm pan — about half a teaspoon for a 10-inch skillet — and rub it in with a lint-free cloth or paper towel. Coat the inside, outside, and handle.
- Using a clean cloth, wipe the pan aggressively until it looks nearly dry. This step is the most important and the most commonly done wrong. If the surface looks oily, it is too thick.
- Place the pan upside-down in a cold oven with a sheet pan or foil below to catch drips, then heat to 450–500°F.
- Bake for one hour, then turn the oven off and let the pan cool inside completely — another hour or so.
- Repeat the oil-wipe-bake cycle three to five times. Each round adds a thin, hard layer.
Your pan is ready when the surface is smooth, evenly dark, and slightly glossy. Water beads up slightly instead of sinking in immediately.
Rescuing a rusted skillet
A rusted pan is not ruined. Cast iron is fundamentally durable, and rust is a surface issue that can be fully reversed with patience.
Start by scrubbing the rust off with steel wool, coarse salt, or a chainmail scrubber under hot running water. For heavy rust or a completely bare pan, some cooks use a paste of baking soda and vinegar, though plain mechanical scrubbing gets most of it. Avoid harsh oven cleaner unless you plan to fully re-season from scratch, as it strips absolutely everything.
Once the rust is gone and the iron is bare gray, dry the pan immediately and thoroughly. Moisture left on bare iron rusts again within minutes. Heat the pan on the stove to drive off residual water, then proceed with the seasoning process from step 3 above. A rescued pan needs at least four to five seasoning cycles to build a functional layer.
If parts of the pan are pitted from long-term rust, the pitting is cosmetic — the pan is still usable, and the pits will gradually fill in over time with new seasoning and normal cooking.
Daily care after cooking
Good daily care preserves seasoning better than any deep restoration. After every cooking session:
- Rinse the pan with hot water while it is still warm — food residue comes off much more easily than after it cools.
- Use a stiff brush, chainmail scrubber, or nylon scraper to remove stuck bits. A small amount of dish soap is fine and will not damage properly cured seasoning.
- Dry the pan completely with a towel, then place it on the stove for a minute or two to drive off any final moisture.
- Wipe on a very thin layer of neutral oil while the pan is warm, then rub off any excess. Store in a dry place.
The single most common cause of rust is putting a damp pan away. If you take the drying step seriously, seasoning will last for decades.
Avoid soaking cast iron in water and never put it in the dishwasher — both strip seasoning and encourage rust. Cooking acidic foods like tomato sauce, wine reductions, or lemon-heavy dishes is fine occasionally in a well-seasoned pan, but frequent acidic cooking will thin the seasoning over time and require occasional re-seasoning.
Common mistakes that ruin seasoning
The pan is rarely the problem when things go wrong — the process is. The most common mistakes:
- Using too much oil. Thick oil pools burn and leave sticky, uneven patches. Always wipe until nearly dry.
- Skipping the wipe-off step. A shiny, wet-looking pan is a soon-to-be-sticky pan.
- Not heating hot enough. Below about 400°F, oil does not polymerize — it just gets warm. 450°F and up is where the chemistry happens.
- Cooling too fast. Let the pan cool in the turned-off oven. Rapid temperature changes can cause seasoning to crack or the pan itself to warp.
- Cooking acidic foods on a new pan. In the first few weeks after seasoning a fresh pan, avoid tomato sauces, citrus, and wine — they eat into thin layers.
Frequently asked questions
Do I really need to season a new “pre-seasoned” pan?
Factory pre-seasoning is a thin base layer meant mostly to prevent rust in the box. It is not a durable cooking surface on its own. Adding two or three home layers before first use gives a much better nonstick surface and a longer-lasting foundation.
Can I use olive oil to season my cast iron?
You can, but olive oil cures more slowly and stays softer than flaxseed or grapeseed. Use olive oil for finishing daily maintenance rubs, not for building the initial base layers.
My seasoning is flaking off — what happened?
Almost always this means the oil was applied too thick. When the layer is thicker than a few molecules, the outside cures while the inside stays soft, and the whole crust eventually peels. Strip the pan, scrub off loose flakes, and re-season with much thinner coats.
Is it really okay to use soap on cast iron?
Yes. The old warning comes from an era when soap contained lye, which really did strip seasoning. Modern dish soap does not, and a small amount used with hot water is fine for well-cured pans.
How long does a properly seasoned pan last?
Indefinitely with normal care. Cast iron skillets from the early 1900s are still in daily use in many kitchens. The pan itself does not wear out — only the seasoning layer needs occasional attention.
Can I season a cast iron pan on the stovetop instead of the oven?
Stovetop seasoning heats only the bottom evenly, leaving the sides and rim under-cured. It is fine for touch-ups but not recommended for building a full seasoning layer on a bare pan.
The short version
Cast iron is not fussy — it is misunderstood. Choose an oil with good drying properties, apply it in coats so thin they look nearly wiped off, bake at high heat for long enough for the polymerization to happen, and let the pan cool slowly. Once you have a good layer, protect it by drying thoroughly after every wash. That is really all there is to it.