
The tray comes out of the oven dark green, limp, and slightly bitter, and the pieces that were touching each other are still visibly wet. Twenty-two minutes at 350 degrees, exactly as written, and the result is stewed kale on a hot pan.
The oven did not fail. The leaves went in wet. Water on the surface of a leaf has to boil off before anything else can happen, and while it does, it surrounds the leaf in steam. A steamed leaf does not crisp; it softens, darkens, and collapses. By the time the last of the water is gone the edges have already burned.
Everything that makes kale chips work is upstream of the oven. Dry leaves, less oil than any recipe suggests, a low temperature, and enough pan space that the water leaving one leaf is not landing on the next.
- The real cause: surface water, not oven temperature
- Drying: spin, then air dry 15 minutes on a towel
- Oil: one teaspoon per large bunch, not a tablespoon
- Oven: 275 to 300 degrees, 20 to 30 minutes
- Layout: single layer, no overlap, two pans if needed
- Salt: after the oven, never before
The tray that came out limp and dark at once
Three failures look similar and have different causes, and telling them apart is most of the diagnosis.
Leaves that are uniformly soft and dark green, with no crisp anywhere, were wet. Leaves that are crisp at the edges and leathery in the middle were crowded, so the middle of the pan stayed humid. Leaves that are crisp but bitter and brown at the tips were cooked too hot, which burns the thin edges long before the thicker parts have dried.
All three are fixable and none of them require a different recipe. The ingredient list for kale chips is kale, oil, and salt, and there is nothing in it to adjust.
The fourth failure, which people rarely diagnose, is that the chips were crisp coming out of the oven and soft an hour later. That is a storage problem rather than a cooking one and it has its own answer further down.
Steam against crisp: what water does in the oven
A leaf going into a 300 degree oven with water on it cannot rise above 212 degrees at the surface until that water has gone. Everything the oven does in that period goes into evaporating it, and the leaf cooks in its own steam meanwhile.
That steam does two things. It softens the leaf structure, breaking down the cell walls that would otherwise stay rigid and produce a crisp texture, and it accelerates the loss of chlorophyll, which is the dark olive color of overcooked greens rather than the bright green of a fresh one.
The kale itself is around ninety percent water internally, and that water has to leave too. That is the actual cooking process, and it is slow by design. Adding surface water on top of it means the oven spends its first ten minutes on a problem that a salad spinner solves in thirty seconds.
Washing, then the spin-dry step that takes longer than you think
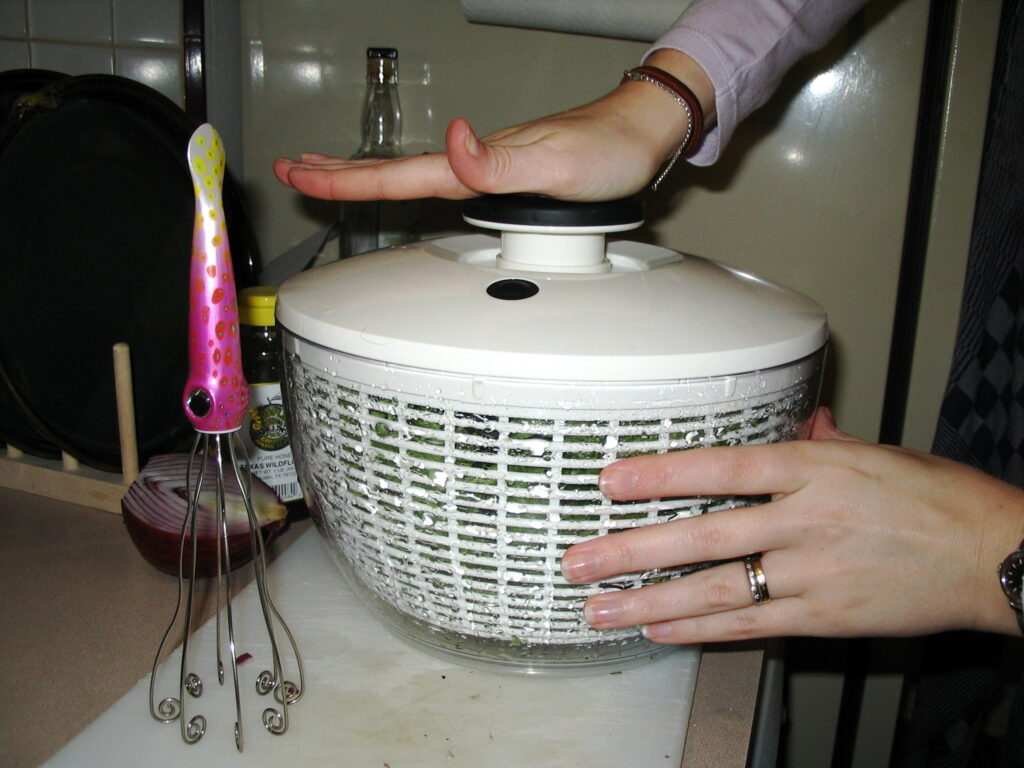
Kale needs washing. It grows close to the ground, the leaves are ruffled in a way that traps grit, and bagged pre-washed kale is the exception rather than the rule. Rinse it under cold running water, or better, swish it head-down in a bowl of cold water so the sand falls to the bottom, and lift the leaves out rather than pouring the bowl through a colander.
Then dry it properly, which is where the time goes. A salad spinner run three times, emptying the water between rounds, gets most of it. Then spread the leaves on a clean towel in a single layer and leave them for fifteen minutes while the oven heats.
Test by pressing a leaf between your palms. It should feel dry and slightly papery, not cool and slick. If a towel laid over the top comes away damp, they are not ready.
Washing the day before and refrigerating the dried leaves in a container lined with paper towel works well and removes the wait entirely. This is the one step that turns a thirty-minute snack into a ten-minute one.
Crispy kale chips, from bunch to jar
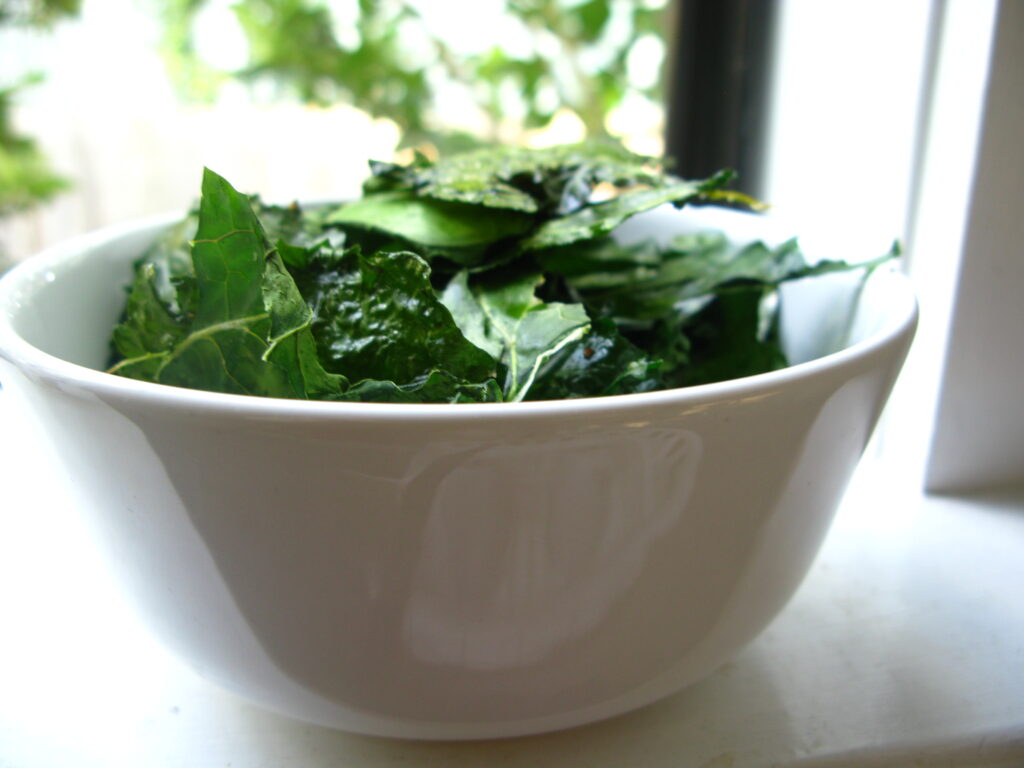
- Heat the oven to 285 degrees with racks in the upper and lower thirds.
- Strip the leaves from one large bunch of kale by holding the stem at the base and pulling the leaf away with the other hand. Discard the stems or save them for stock.
- Tear the leaves into pieces roughly the size of a playing card. They shrink by about half.
- Wash, spin dry three times, and spread on a towel for 15 minutes.
- Put the dry leaves in a large bowl. Add one teaspoon of olive oil.
- Massage the oil in with your hands for a full minute, rubbing each leaf between your fingers until there is no wet-looking patch anywhere and the leaves feel barely slick.
- Spread across two parchment-lined sheet pans in a single layer with no overlap at all.
- Bake 20 to 25 minutes, rotating and swapping the pans at the halfway point.
- They are done when the leaves are dry to the touch, pale at the edges, and one snaps rather than bends. Undercooked chips go soft within minutes of cooling.
- Salt immediately out of the oven, cool completely on the pan, then store in a jar.
Step six is the one people shorten. A minute of hands-on massaging feels excessive for a teaspoon of oil, and it is exactly what distributes that teaspoon over an entire bunch instead of leaving half the leaves bare and a few soaked.
The oil amount, and rubbing it in leaf by leaf
One teaspoon per large bunch, which is roughly five ounces of trimmed leaves. Most recipes call for a tablespoon or two, and the excess is the second most common reason for soggy chips after wet leaves.
Oil does not crisp anything on its own. What it does here is conduct heat evenly across the leaf surface and carry the salt. Beyond a very thin film it stops helping and starts holding, weighing the leaf down and giving it a greasy texture that reads as undercooked even when it is dry.
Hands are the right tool. A drizzle and a toss with tongs leaves the oil in patches; rubbing each piece between your fingers spreads it to the point where the leaves look matte rather than shiny. If they look shiny after massaging, there is too much oil in the bowl and the fix is to add more kale.
An oil mister is the alternative and it works well, three or four passes over a spread tray. Any neutral oil is fine. Olive oil tastes better and its smoke point is comfortably above 300 degrees, so the usual objection does not apply at this temperature.
The low oven, and why 350 burns the edges
| Temperature | Time | Result |
|---|---|---|
| 250 degrees | 35 to 45 minutes | Very even, pale, extremely crisp |
| 275 degrees | 25 to 30 minutes | Excellent, forgiving |
| 300 degrees | 18 to 22 minutes | Good, needs watching at the end |
| 325 degrees | 14 to 16 minutes | Edges brown before centers dry |
| 350 degrees | 10 to 12 minutes | Bitter tips, leathery middles |
This is dehydration rather than roasting. The goal is to remove water slowly and evenly from a very thin, very unevenly thick object: the ruffled edge of a kale leaf is a fraction of the thickness of the rib running through the middle.
At 350 the edge is dry and browning within six minutes while the center is still damp. Brown kale edges are genuinely bitter, which is where the reputation for bitterness comes from, since fresh kale roasted low is mild and slightly sweet.
275 to 285 is the useful range for a home oven. If yours runs hot, and most do, an oven thermometer settles it. Anyone who has worked through the same problem with air fryer temperatures will recognize the pattern: the machine’s dial and the actual air temperature are frequently ten or fifteen degrees apart.
One layer, and the pan math for a whole bunch
One large bunch of kale, stripped and torn, fills two half sheet pans in a proper single layer. It looks like far too much and it shrinks to about a quarter of its volume.
Overlap is not a small compromise. Two leaves touching create a pocket where the moisture leaving one lands on the other, and both stay damp while everything around them dries. Those are the leathery pieces in the middle of an otherwise good batch.
If there is only one pan, do two rounds rather than crowding. The second round takes the same time and the pan is already hot, so it costs twenty minutes of oven time and no attention.
Parchment helps slightly by preventing sticking and it is not essential. What matters more is that the pan is flat: a warped sheet pan pools oil in the low spots and those leaves come out greasy.
Curly, lacinato, or baby kale
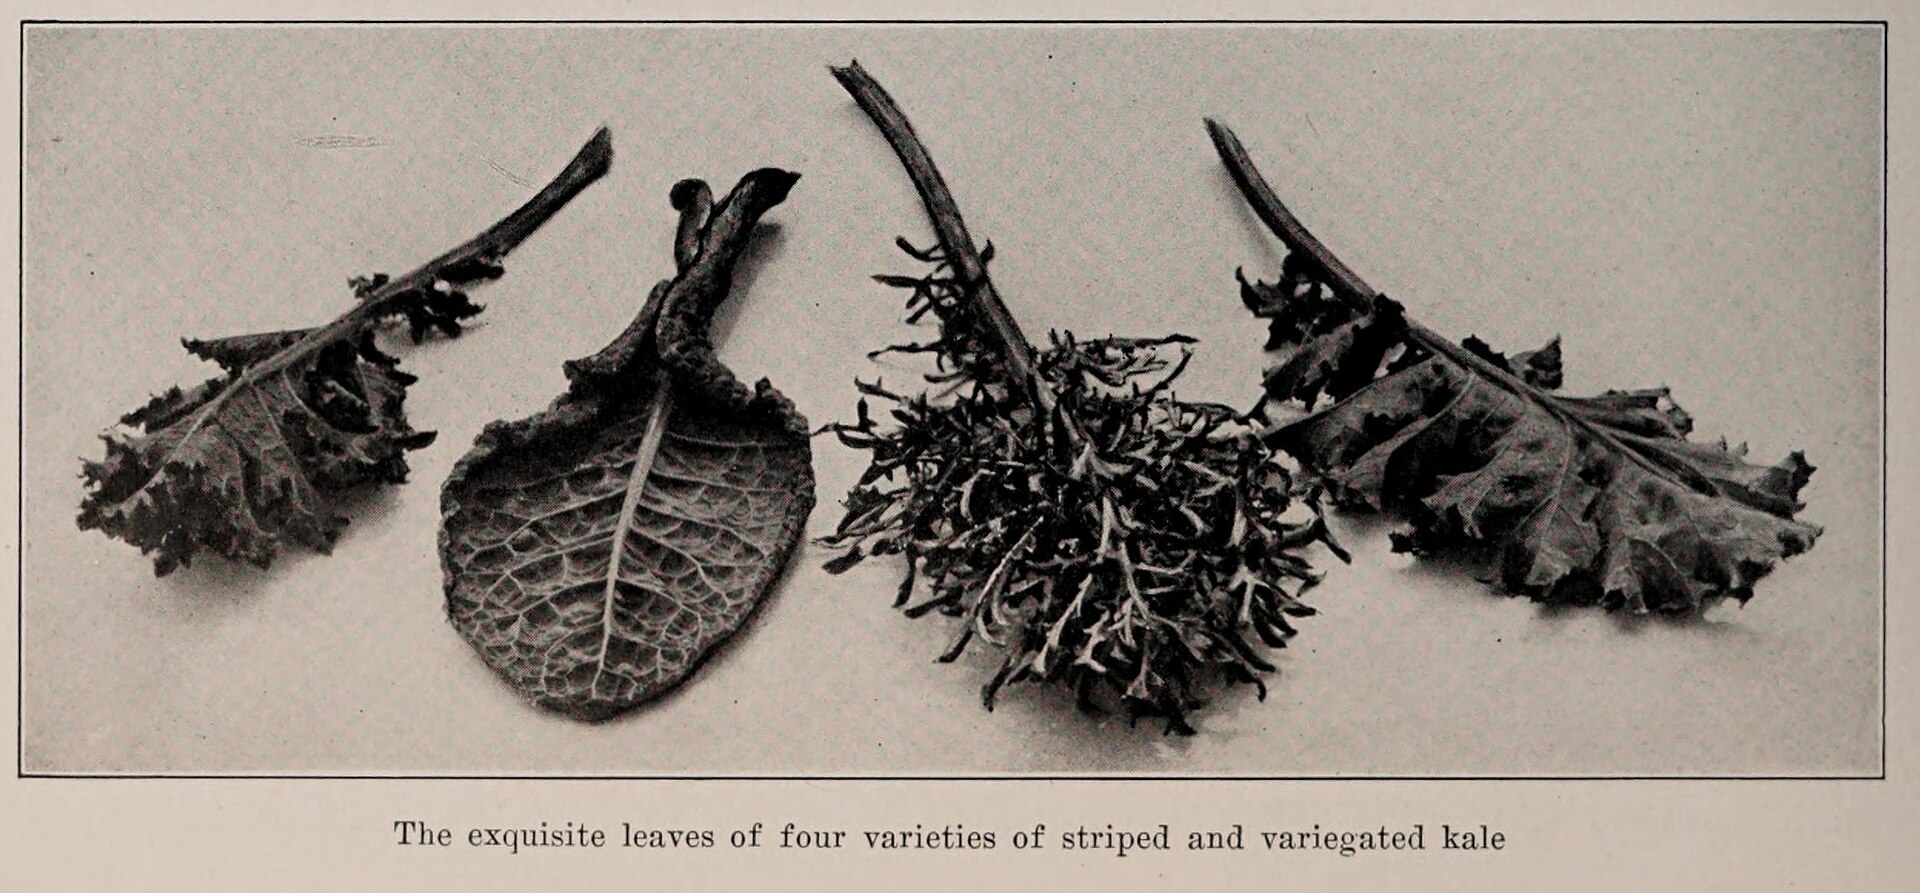
The three types on a supermarket shelf are all the same species, a form of cabbage grown for its leaves rather than a head, and kale varieties differ enough in leaf structure to matter here. Curly kale is the standard and the best choice. The ruffled edges give an enormous amount of surface area and they crisp into something light and shatter-prone that genuinely resembles a chip.
Lacinato, sometimes sold as dinosaur or Tuscan kale, has flat, thick, pebbled leaves. It works but it makes a denser, more leathery chip and it needs five to ten extra minutes. Tear it smaller than you would curly kale.
Baby kale is too thin. It goes from raw to burnt in about four minutes and there is no window in between. It is better used raw.
Whichever type, strip the leaves off the stems completely. The stem is fibrous, it never crisps, and even the thin part running into the leaf stays chewy. Save the stems in a freezer bag for stock, where they are genuinely useful.
Salt after, not before
Salt draws water out of plant tissue. Salted before the oven, the leaves release moisture onto their own surface in the first few minutes, which is the exact problem the drying step was solving.
Salt the moment they come out instead, while the surface is still faintly warm and slightly tacky, which is when it sticks best. Fine salt sticks better than coarse; a coarse flake mostly ends up in the bottom of the jar.
Half a teaspoon of fine salt is plenty for a whole bunch, which is worth noticing given that a bagged snack of the same volume typically carries several times that. This is one of the genuine arguments for making them at home rather than buying them, alongside the wider case for controlling salt in things eaten by the handful.
Other seasonings go on at the same time. Nutritional yeast, smoked paprika, garlic powder, or a fine grind of black pepper all work. Anything with sugar in it, including most barbecue blends, will burn if added before the oven and should also wait.
Storing them, and the two hours that undo the work
Kale chips are hygroscopic, which is a formal way of saying they pull water out of the air, and a humid kitchen softens a perfect batch within an hour or two.
Cool them completely on the pan before storing, which takes about ten minutes. Warm chips in a sealed container generate their own condensation and go soft overnight without fail.
Then store them in a glass jar with a tight lid, at room temperature, not in a plastic bag and not in the refrigerator. The cold air in a refrigerator is humid and it is the fastest way to ruin them. Two to three days is realistic; a week is optimistic.
A batch that has gone soft can be revived with five minutes in a 275 degree oven. It works, and it works only once or twice before the leaves start tasting stale.
What a bowl is worth against a bag of chips
A whole bunch of kale cooks down to roughly four cups of chips, which is a large bowl, and it carries somewhere in the region of a hundred and fifty calories in total including the oil. The same volume of potato chips is several times that.
The more interesting number is the vitamin content, since kale is unusually high in vitamin K and vitamin A and a bunch is a lot of kale. That is a benefit for most people and a reason to mention one thing: anyone taking warfarin or a similar anticoagulant is usually advised to keep vitamin K intake steady rather than variable, and a habit of eating a bunch of kale in an evening is a change worth raising with a doctor or pharmacist rather than deciding alone.
The other honest caveat is that a bowl of kale chips is not filling. It is high in volume and low in protein and fat, and it works as something to eat alongside a meal rather than as a snack that holds anyone until dinner. Pairing it with something with protein in it is the difference between a satisfying snack and one that leads straight to the cupboard.
Air fryer and dehydrator, timed
An air fryer does this well and fast, with one caveat: the basket is small and the fan is strong. Work in batches of a large handful, at 300 degrees for six to eight minutes, and check at four. Light leaves get blown against the heating element, so a rack or a light weight over the top is worth using.
A dehydrator is the most reliable method and the slowest. At 125 degrees for four to six hours it produces the crispest, greenest chips of any method, with no browning at all and no attention required. If a dehydrator is already on the counter for other reasons, this is what it is best at.
The microwave version is real and surprisingly good for a single serving. A single layer on a parchment-lined plate, full power, in one-minute intervals with a check between each, usually takes two to three minutes. The edges brown unevenly and nobody would call it the best result, but it takes three minutes and produces one bowl.
Frequently Asked Questions
How dry does the kale actually have to be?
Dry enough that a paper towel pressed against a leaf comes away without a damp mark. A spinner alone usually is not enough; the fifteen minutes on a towel afterward is what gets it there.
Can I skip the oil entirely?
You can, and the chips come out crisper and more brittle, closer to a dehydrated leaf. They also taste plainer and the salt has nothing to cling to. A teaspoon per bunch is a small enough amount that it is worth keeping.
Why are my chips bitter?
Almost always browning at the edges, which means the oven was too hot. Drop to 275 and add ten minutes. Very mature kale bought late in the season is also more bitter to begin with, and no cooking method fixes that.
Can I use the stems for anything?
Not for chips, since they never crisp. They are good in stock, and finely sliced they can be sautéed like any other tough green stem, in which case they need eight to ten minutes rather than the two the leaves would take.
How long do they keep?
Two to three days in a sealed glass jar at room temperature, and less in a humid kitchen. They are best the day they are made. Refrigerating them makes it worse rather than better.
Do they need to be flipped during baking?
Not flipped, but the pans should be rotated and swapped between racks at the halfway point, since most home ovens have hot spots and the two racks run at different temperatures. That single move evens out the batch considerably.
Dry one half of a bunch properly and rush the other half, and cook both on the same pan. The line between the two halves will be visible from across the kitchen.